
Introduction & Description
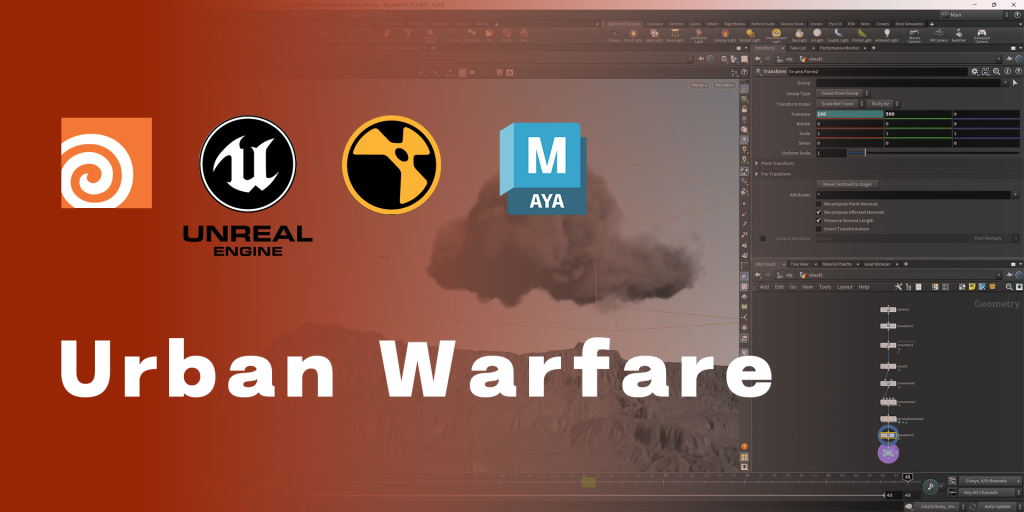
My name is Dang Haixin, my English name is Hason. I am currently studying visual effects at UAL. Here, I will present my independent project (IP) “Urban Warfare”. With this project, I aim to create an original 30s video and focus on war issues. The entire project is about human pilots flying fighter jets in the sky to launch strikes against targets in cities overrun by zombies and monsters. In this creation, I planned to depict a sunset moment in order to present a sense of tension that immediately enters the dark. In addition, I also planned to place some zombie monster elements, symbolizing the damage of war on humanity. In the process of making the target building blown up, I depicted the explosion as people’s struggle against the disaster, and hoped that through the depiction of the explosion, the horror of war could be presented to convey a sense of oppression, so that the audience could understand the preciousness of peace.
For this project, I will focus on making explosions, collapses and flames, with all other models except the main building mainly using free assets found online.
Influences & Inspirations


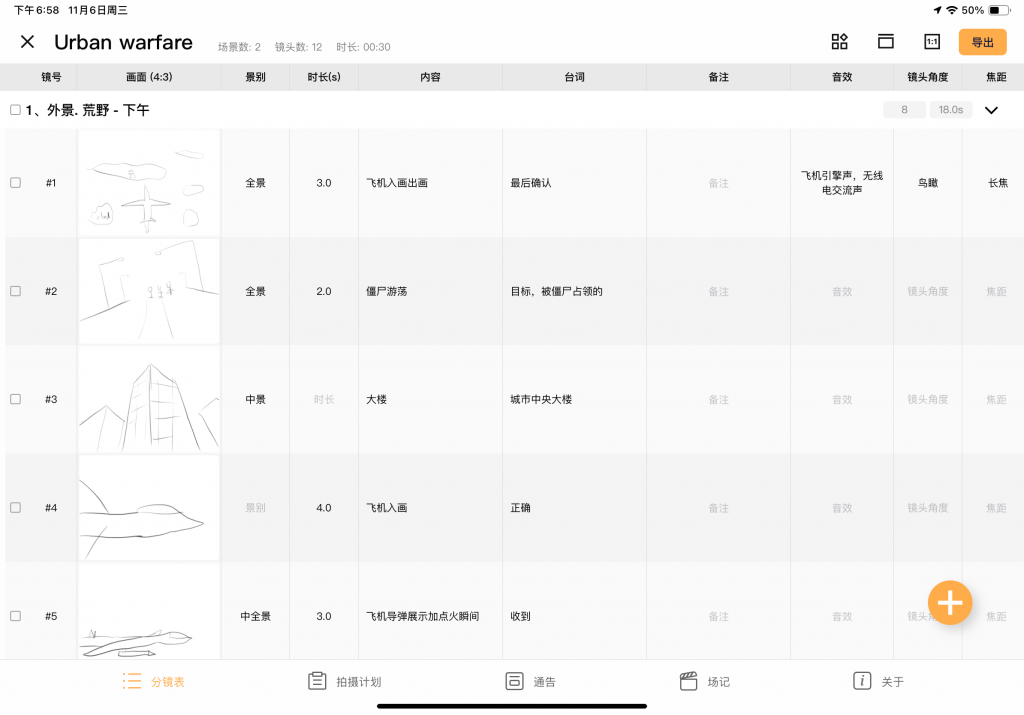
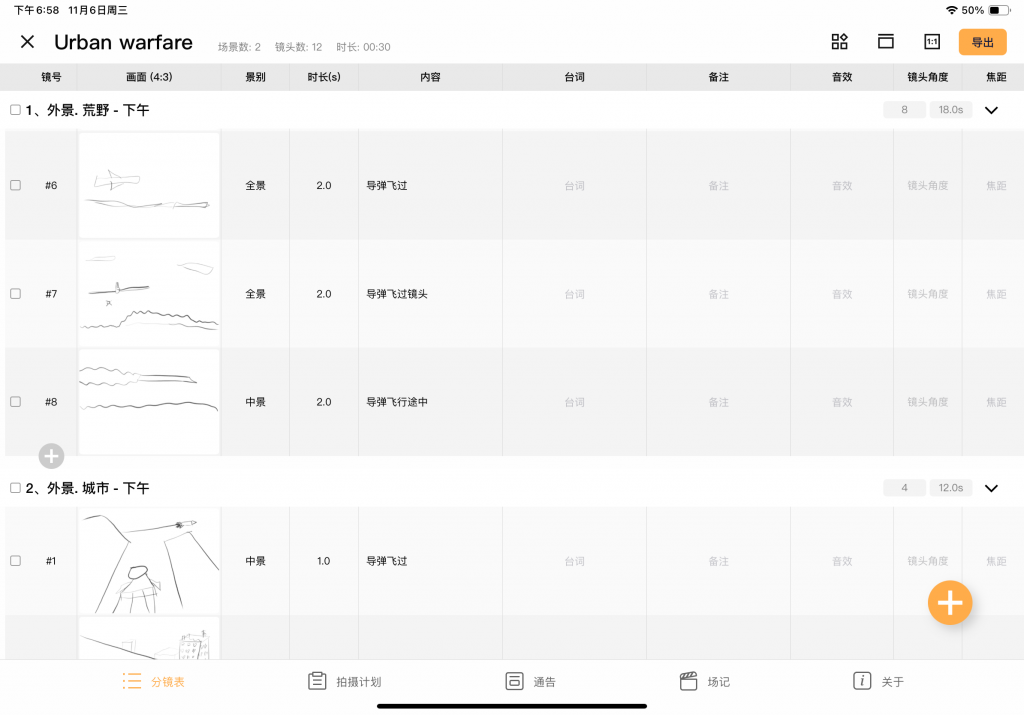
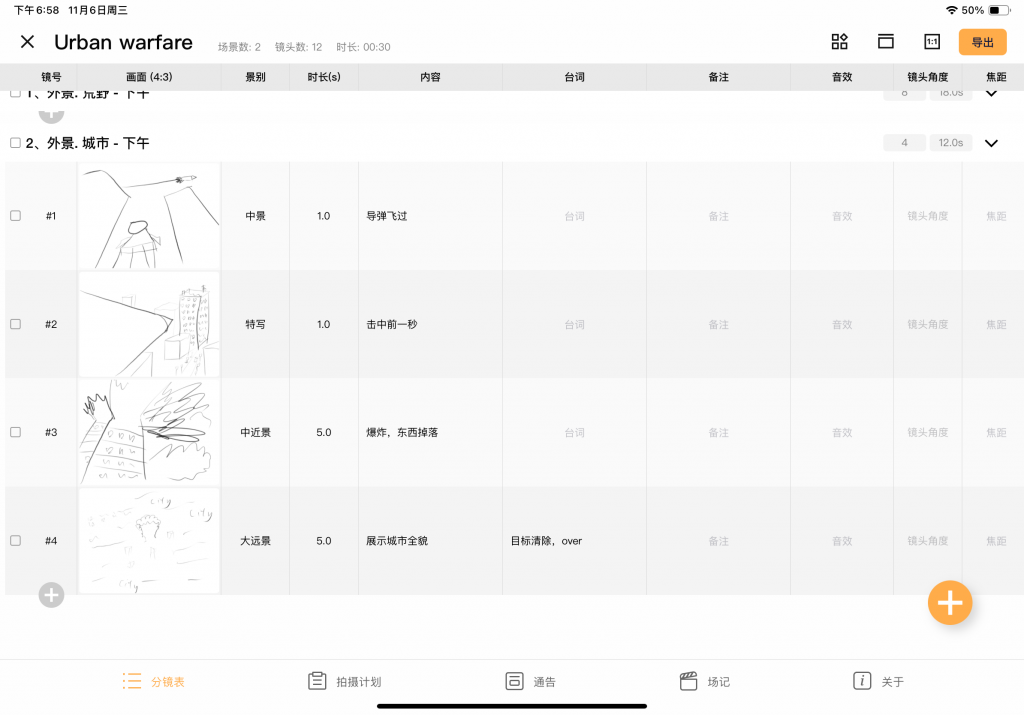
Synopsis & Storyboard
The pilot, who was flying the plane, received a radio communication from his superiors and finally confirmed that the target information was accurate. At the same time, the city where the target building is located has been occupied by monsters, and countless monster zombies roam the streets. The radio gives the go-ahead, and the pilot responds by firing the missile. The missile pulled a long tail of smoke through the camera, skimmed over the hills, flew over the heads of the monsters, and finally hit the monster occupied building in the center of the city in the eyes of all. The building exploded and collapsed in an instant, and the pilot observed the result of the action from the fighter plane and reported it to his superiors.
Working Process
Shot 1
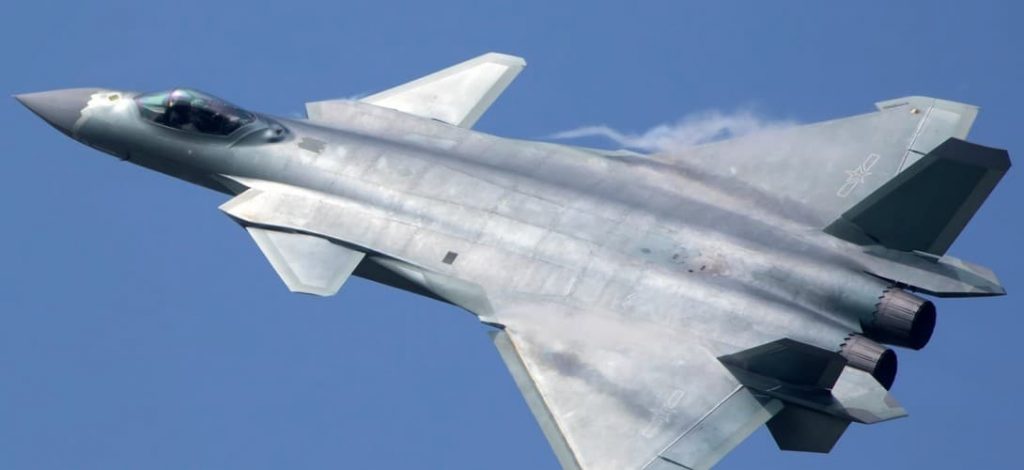
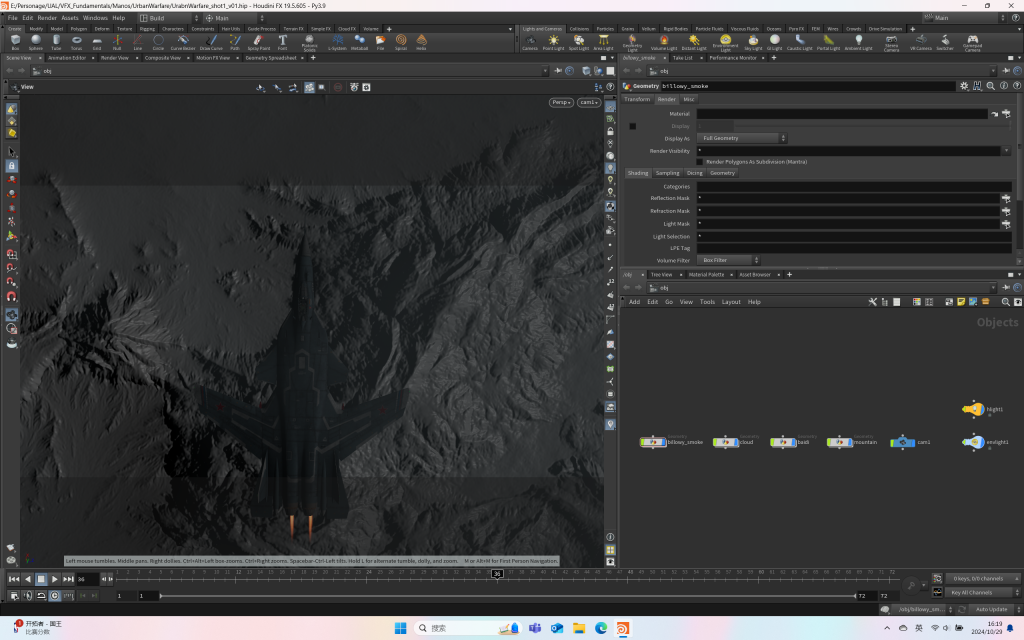
In the first shot, my main work was aircraft animation, camera motion, aircraft engine flame making and cloud making. During the production process, I first determined the production idea, I did not let the camera move, but let the ground and clouds move in the opposite direction, giving the illusion that the fighter is moving fast, so as to better control the movement of the aircraft.
In order to be more realistic, I specially looked for theoretical support and reference, and found the flight speed similar to that of a fighter jet as a reference to ensure the rationality of the animation. See the reference section for details.
The fighter jets and terrain in this scene are models downloaded from the website, which is linked at the end of the post.
Shot 2
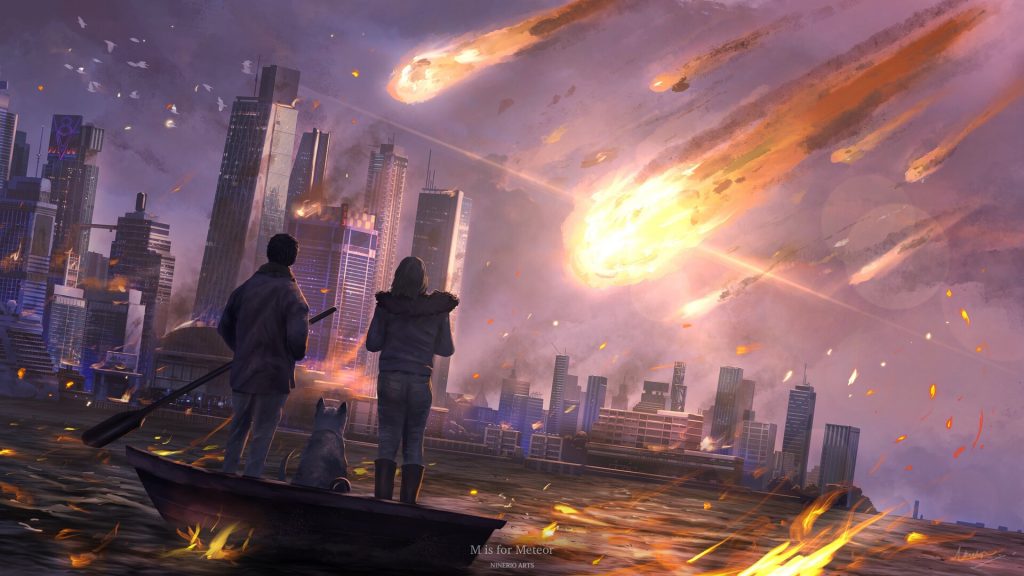
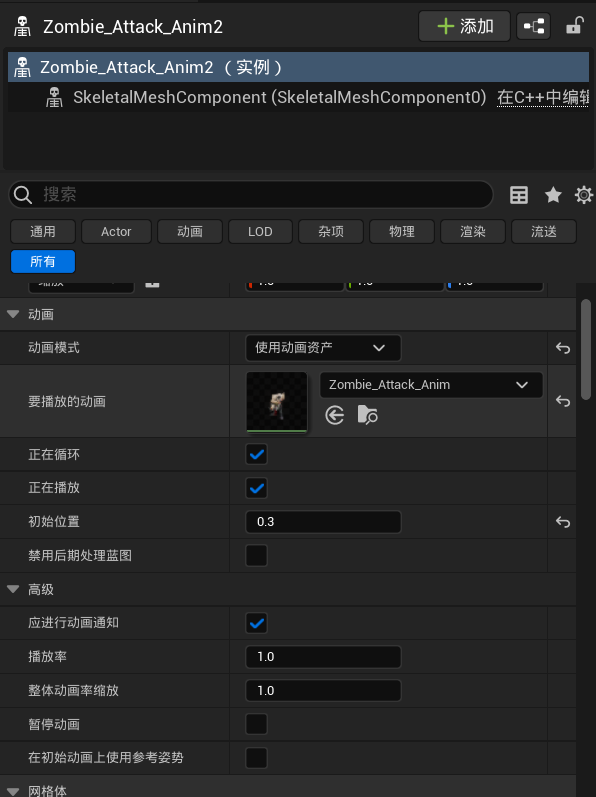
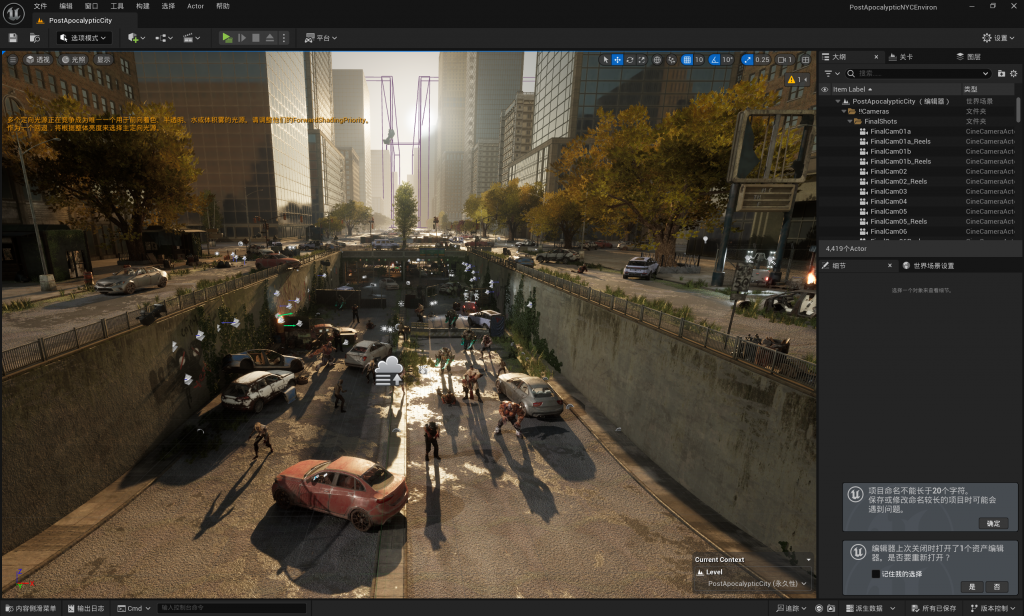
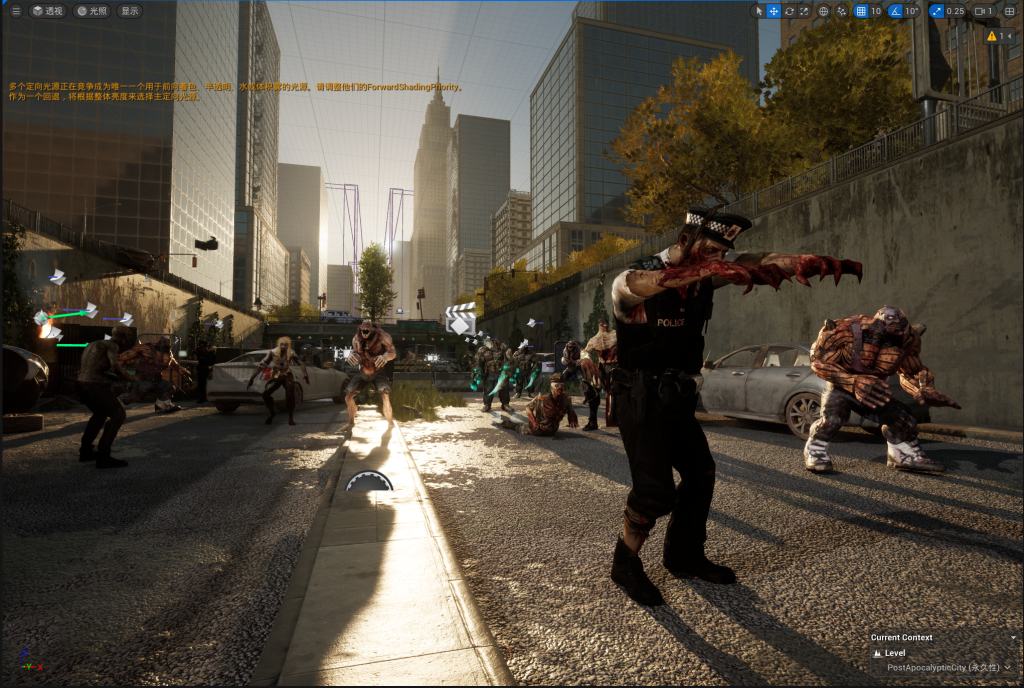
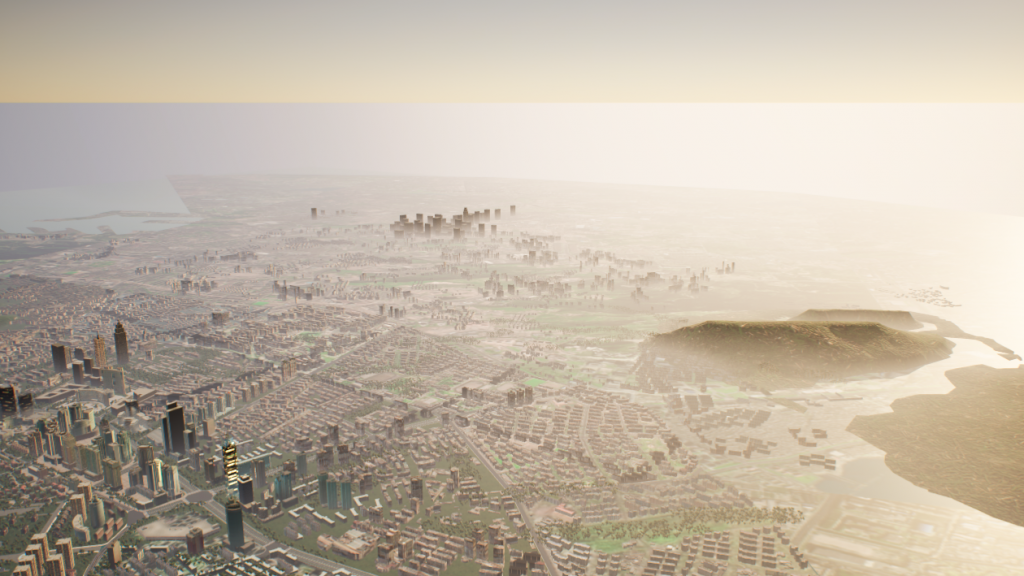
The purpose of this shot is to show why the building, or rather the entire city, is targeted for destruction — because the whole city has been overrun by zombies. All the elements in this shot, including the cityscape and the characters’ movements, were downloaded from the internet. The entire shot was rendered in Unreal Engine.
In the second shot, my main job was to place the asset, change the animation’s playback rate and initial position to make sure it didn’t burn, and set up the camera animation.
Shot 3
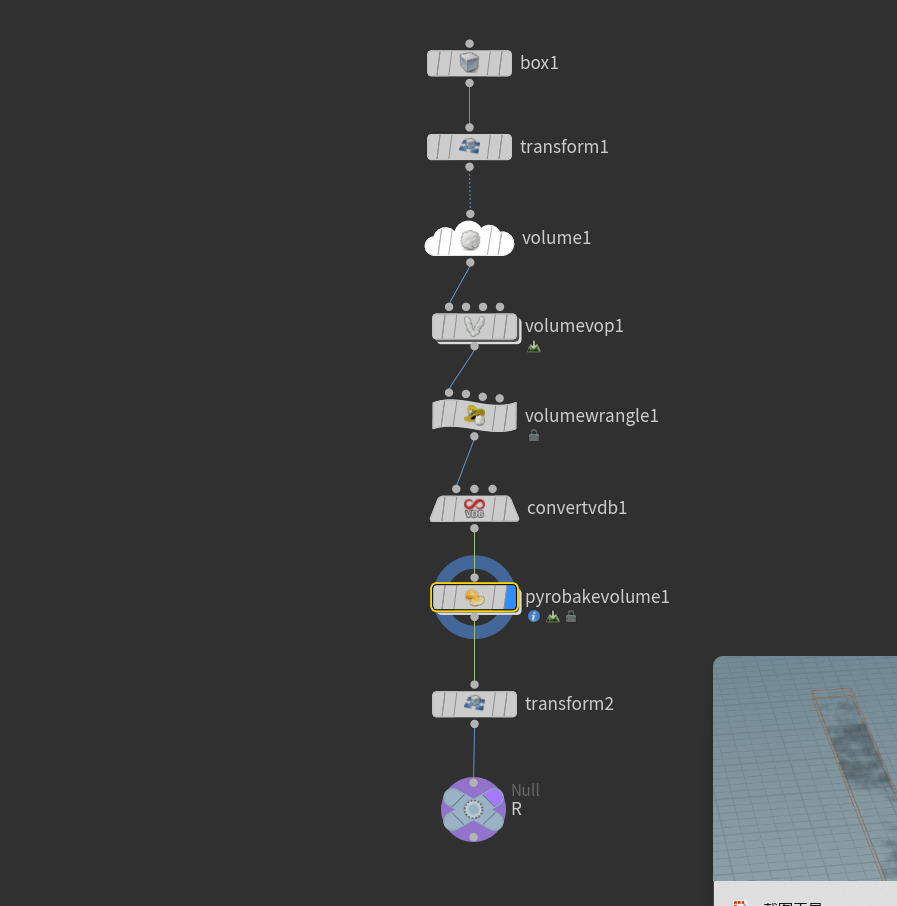
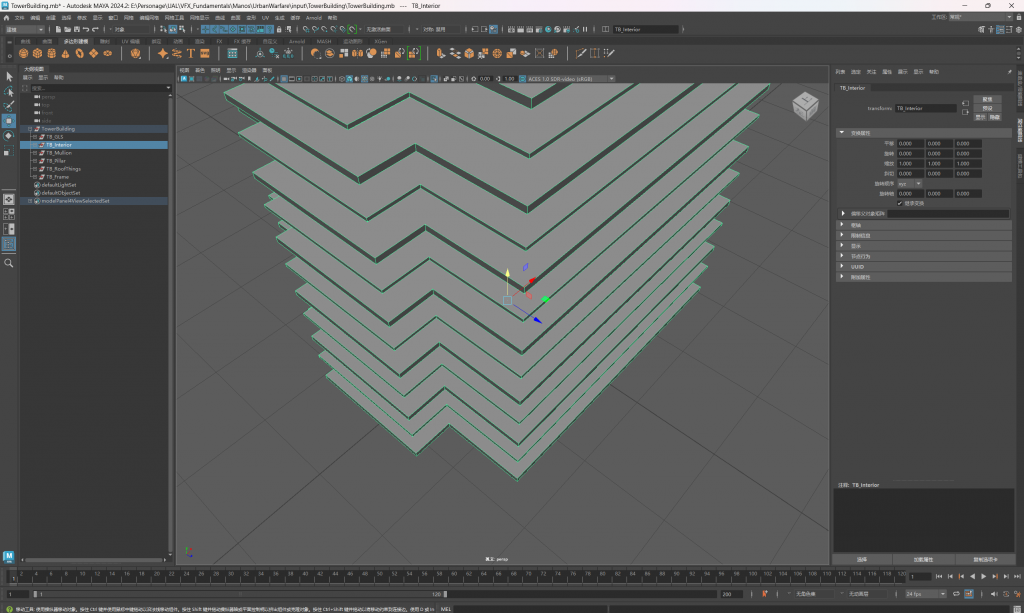
I planned to finish this shot in two parts. First, I modeled the main part of the building in maya, divided the uv, and then rendered it in houdini to prepare for the later crushing. The other environments are rendered in ue and finally put together in nuke.
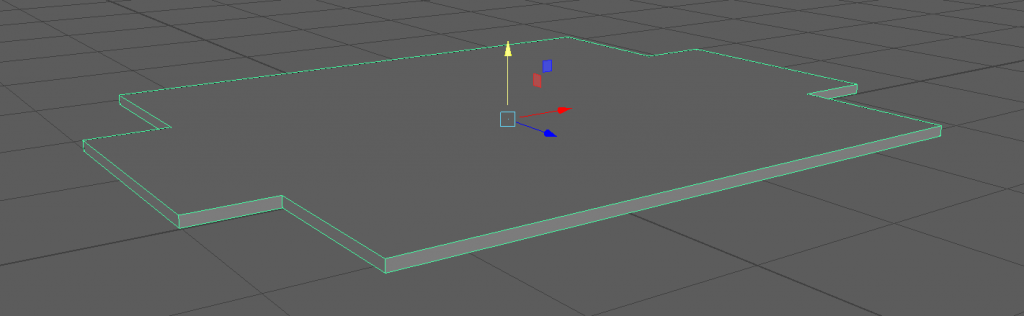
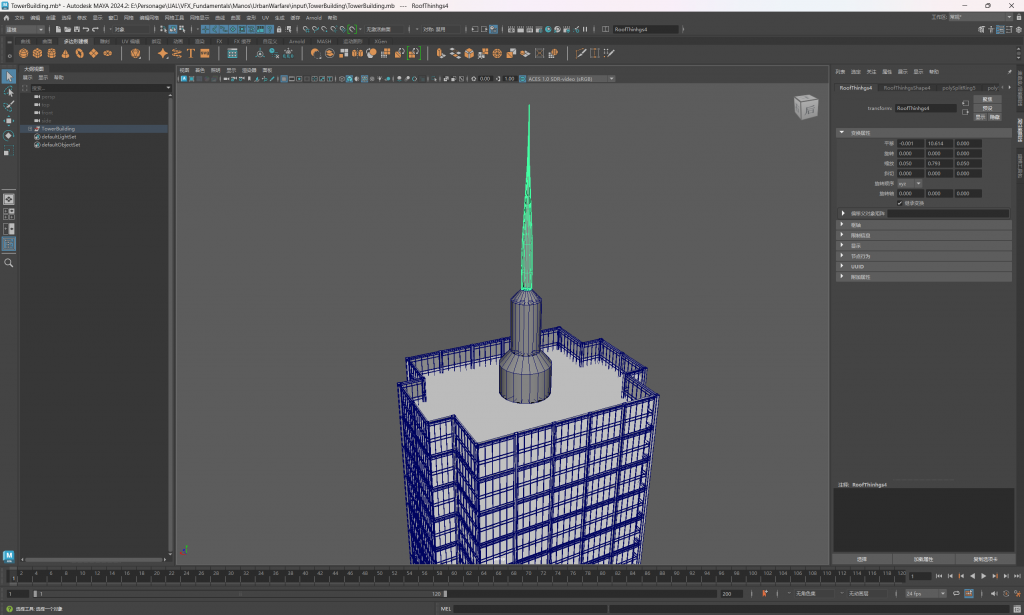
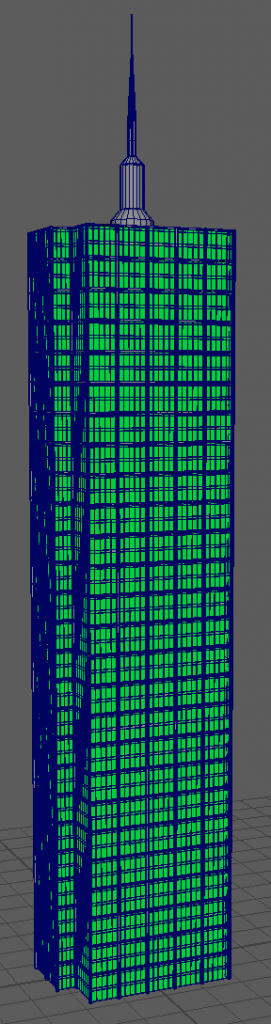
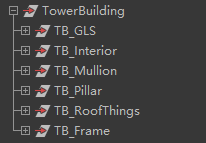
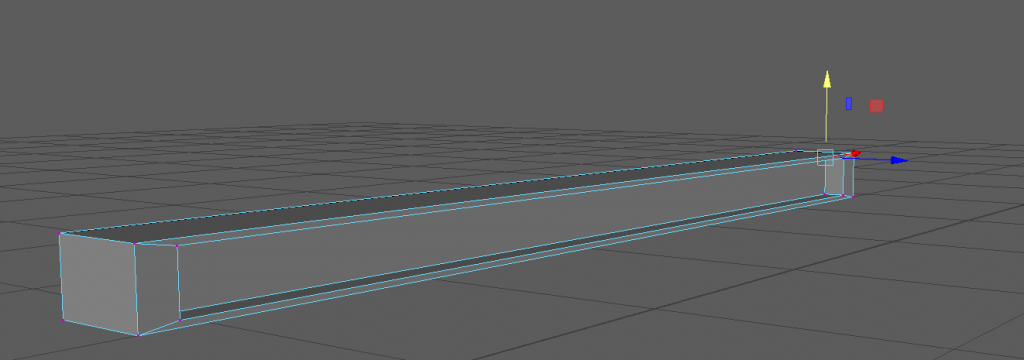
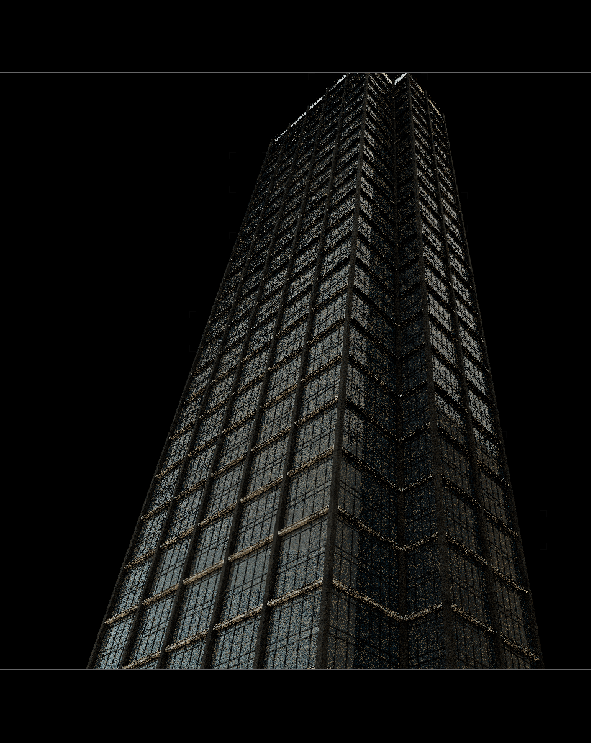
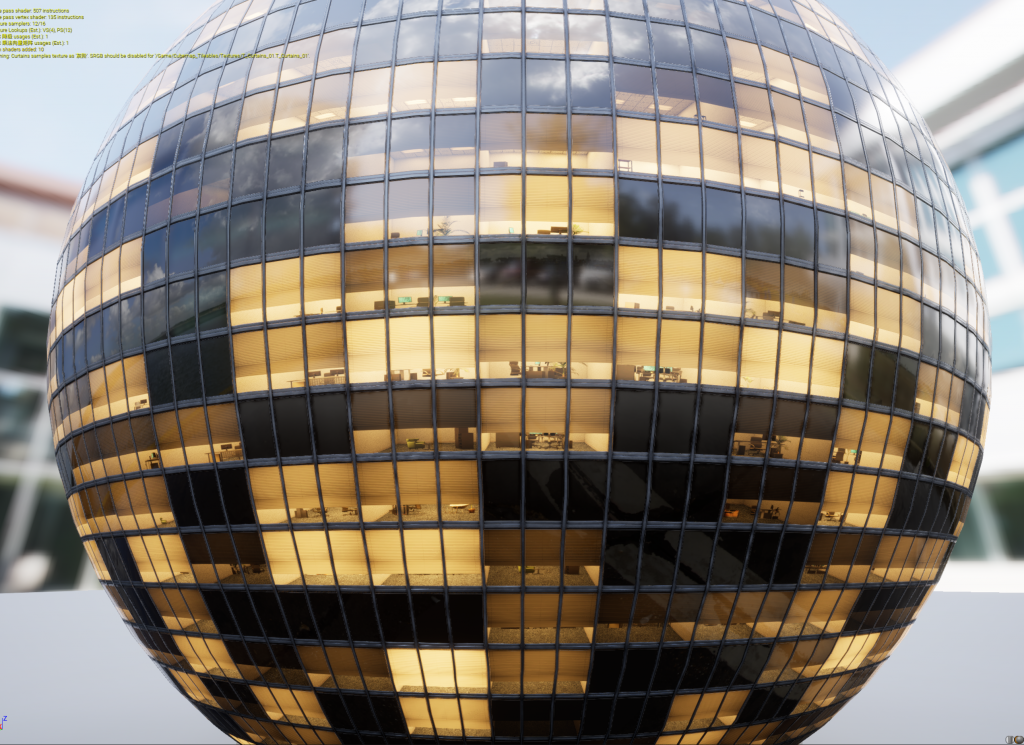
First of all, I modeled the building in maya, referencing a lot of spires, and I wanted a tall, modern building, so I purposely made a lot of glass. I first made the first layer, then removed the uv and finally copied the first layer to complete the building.
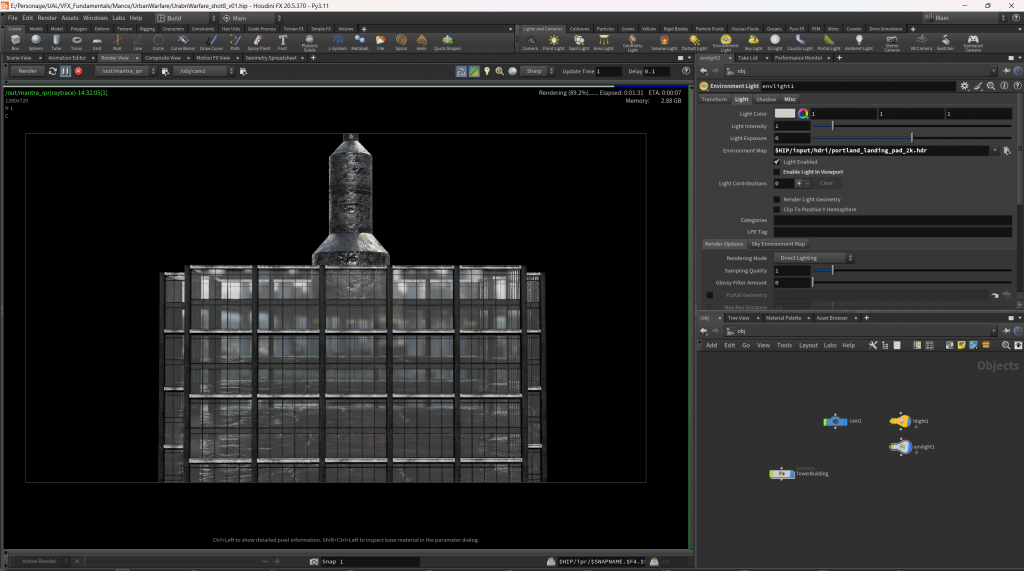
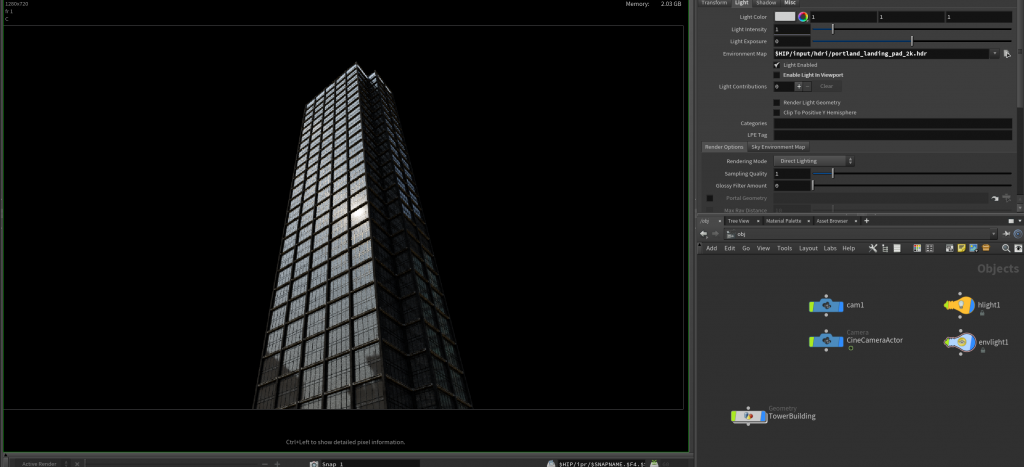
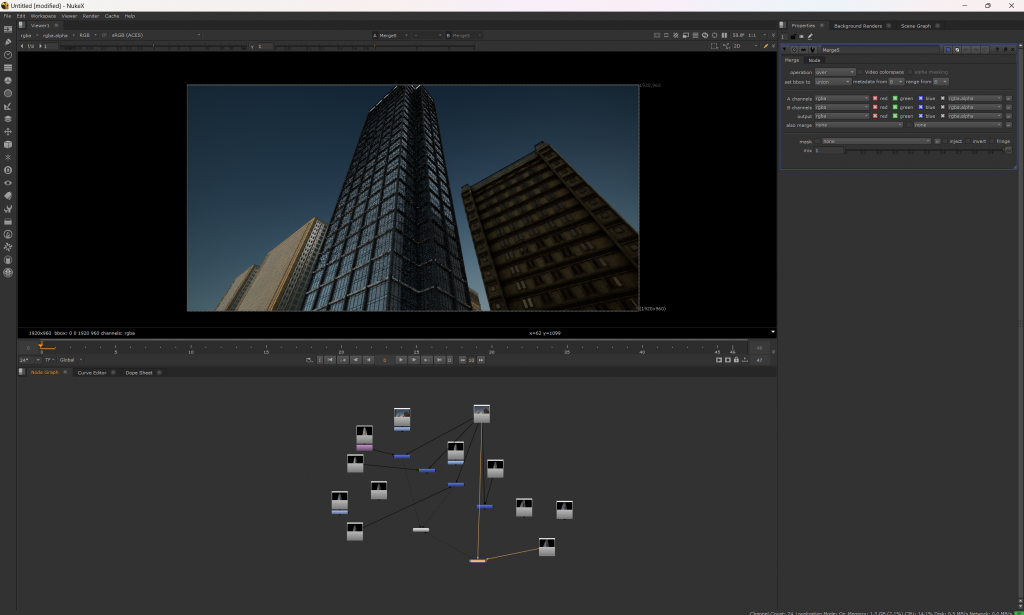
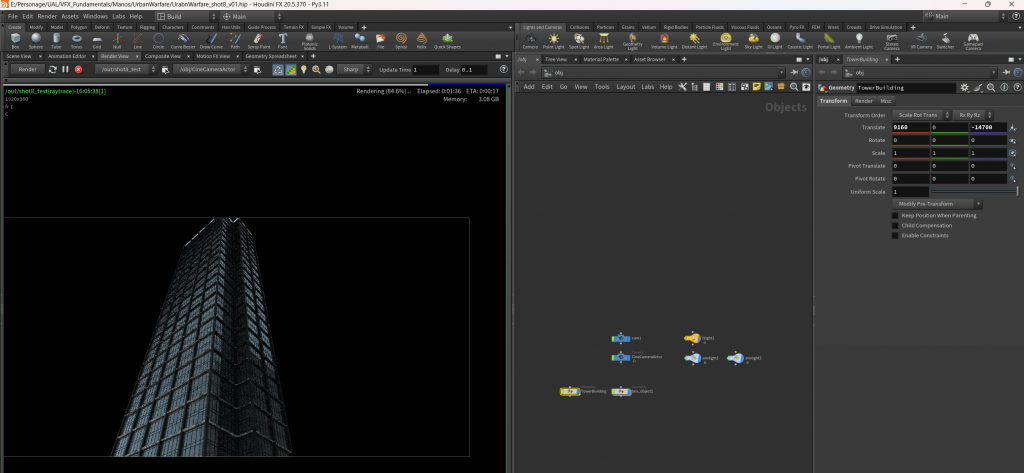
After the modeling was complete, I imported the model of the building in houdini and finished the materials. Later, in order to ensure the color matching of rendering, I deliberately entered ue and exported the city scene as hdri map to houdini for rendering. However, the rendering effect caused many problems due to the mismatch of color space. After many attempts, I finally got a reasonably satisfactory result. Then I exported the scenes to avi sequences, and finally I merged the two scenes together in nuke.


Shot 4~8
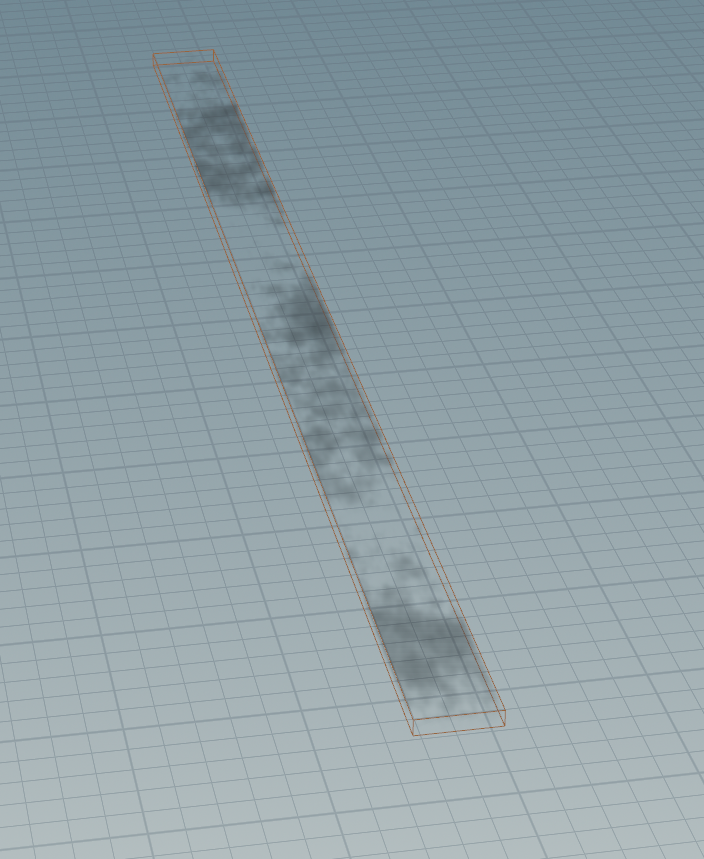
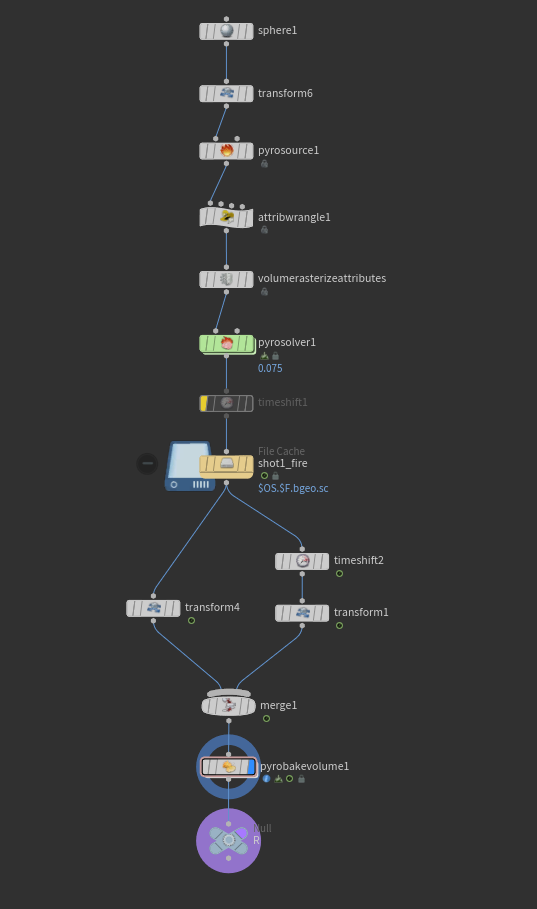
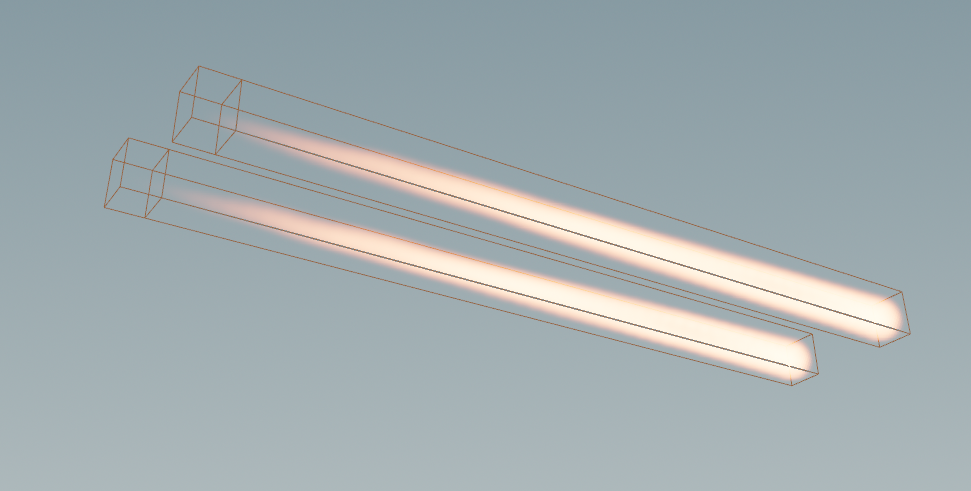
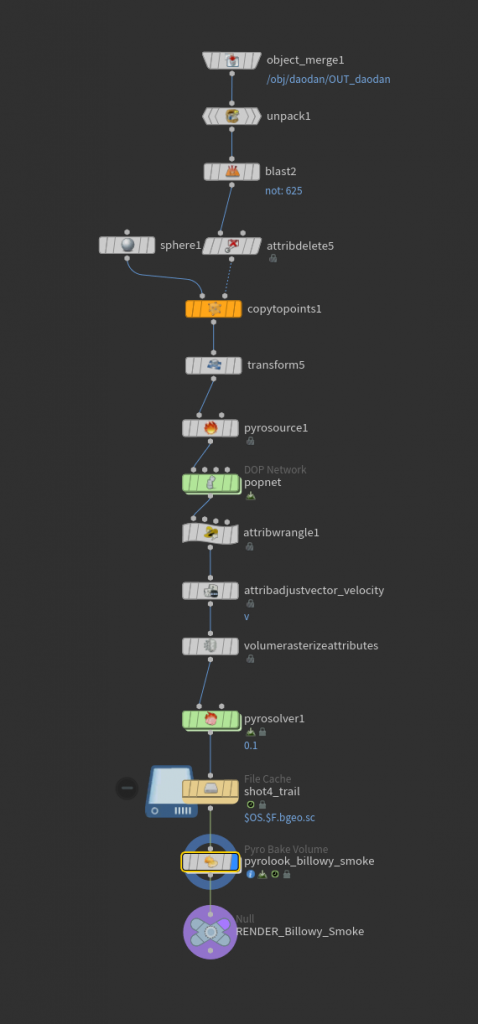
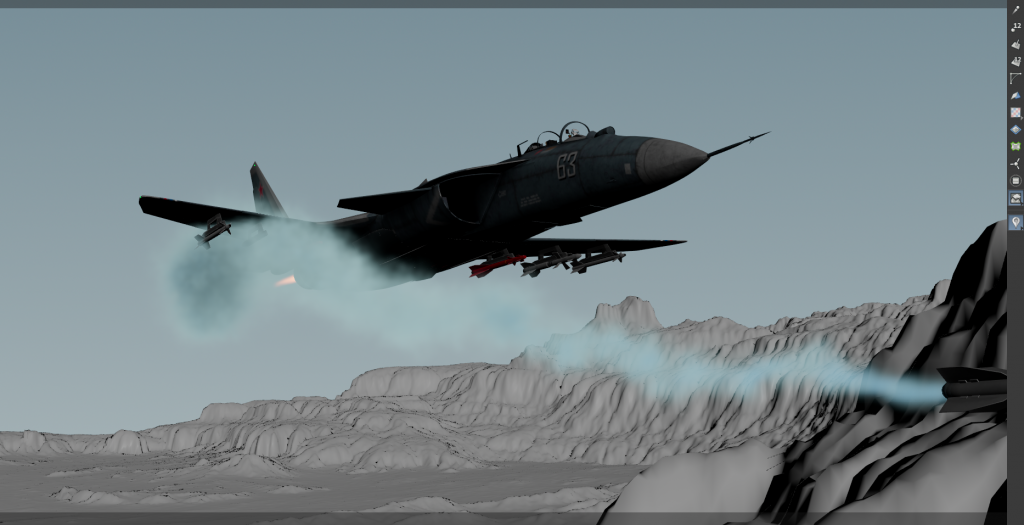
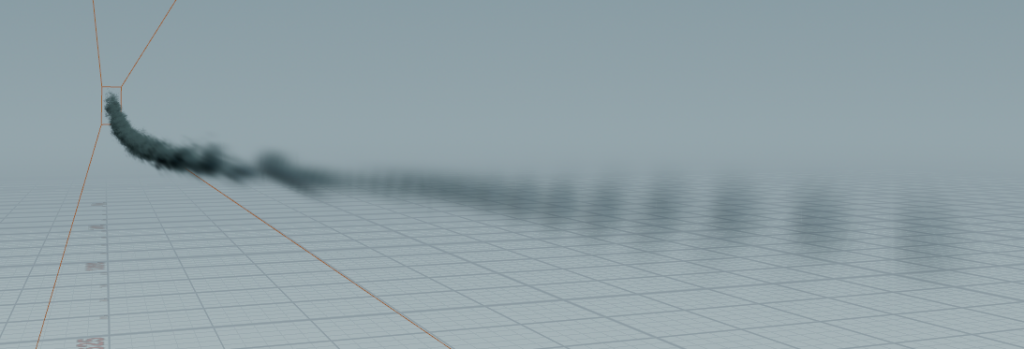
I put the fourth to the eighth shots together because the content of these shots is basically the same, but the camera position is changed. In these shots, my main job was to complete the motion animation of the missile, the aircraft and the camera, as well as the production of the smoke of the missile tail and the flame of the aircraft engine.

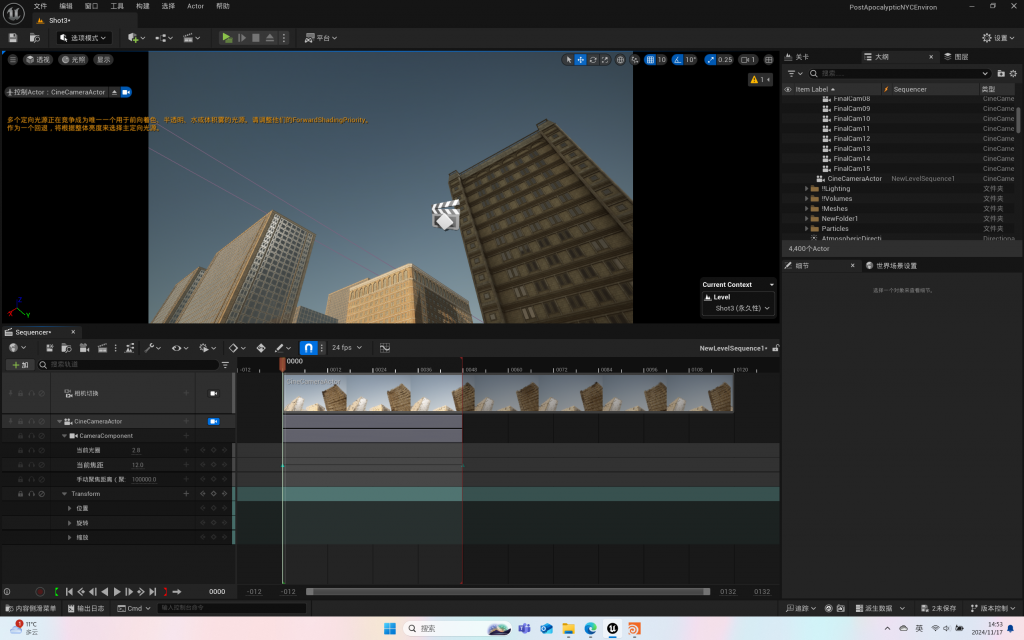
Later in the scene placement stage, I changed my shots in different ways. During the production process, I found that if I could add a little perspective of the inside of the plane and the appearance of the pilot, I could better convey my ideas. So by changing the camera position, I added one more position inside the plane in the same scene. For this I downloaded a high-quality pilot model from the Internet.
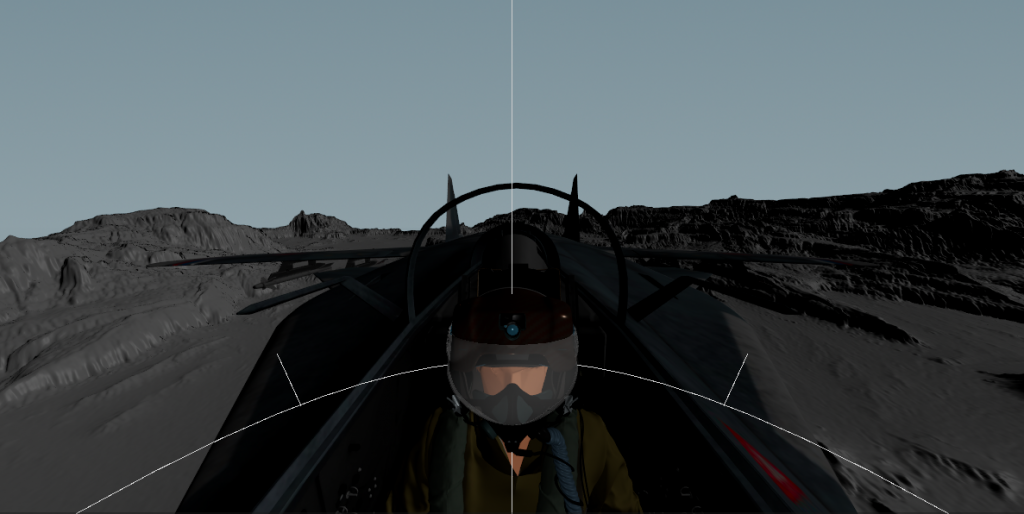
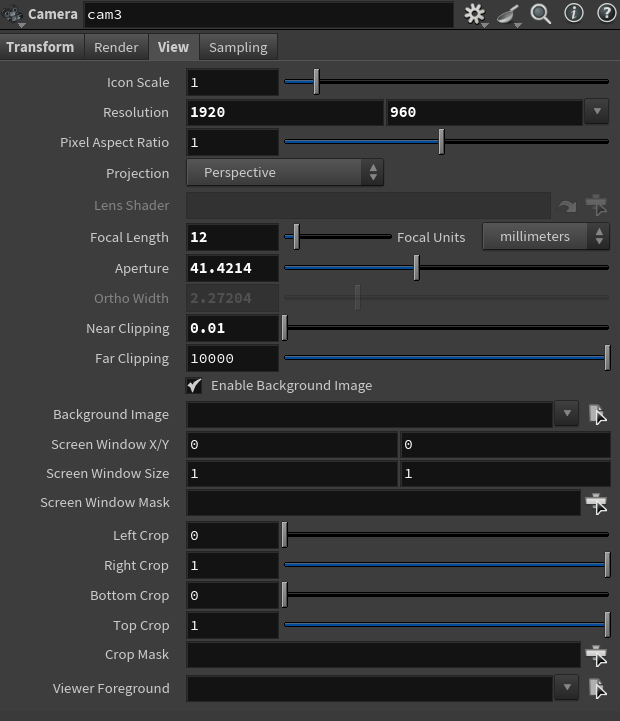
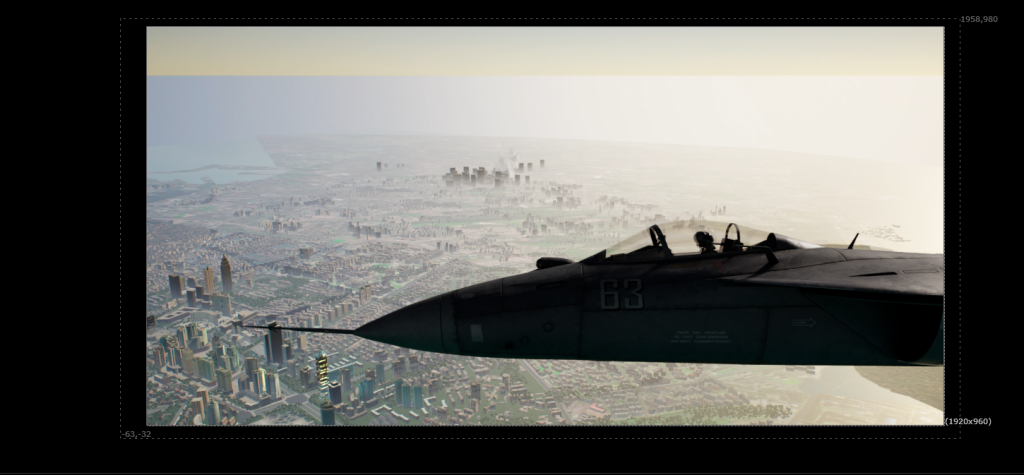
In the process of making this lens, in order to highlight the sense of speed, I tried a lot of lens angles and focal segments, and finally I chose this very exaggerated focal segment of 12mm to highlight the sense of speed. Secondly, I also added motion blur to highlight the speed of the aircraft.
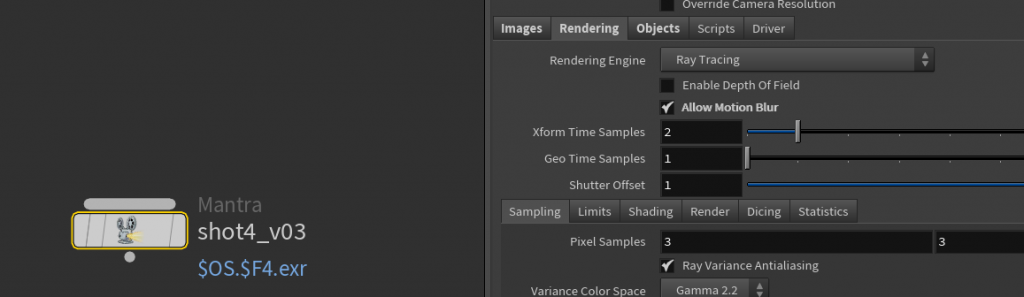
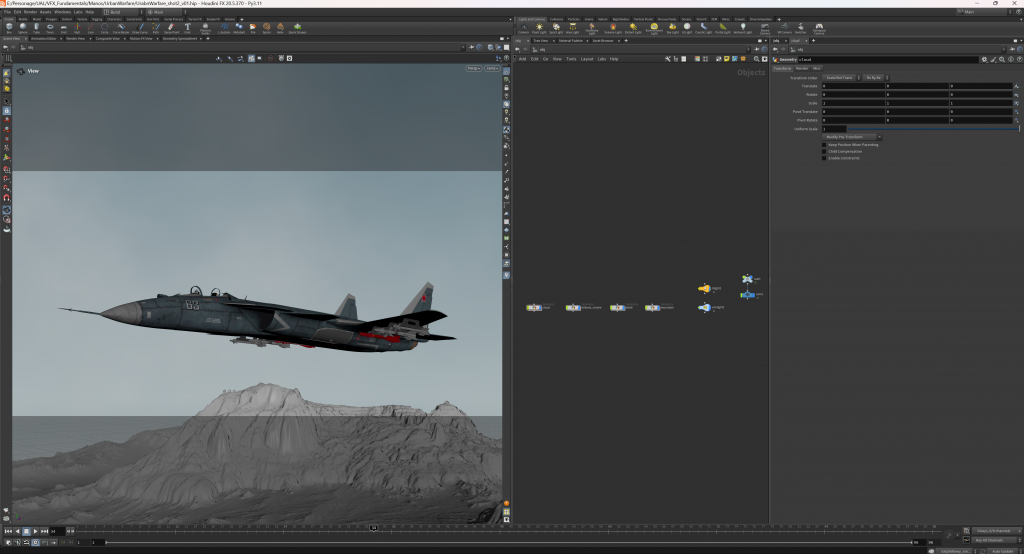
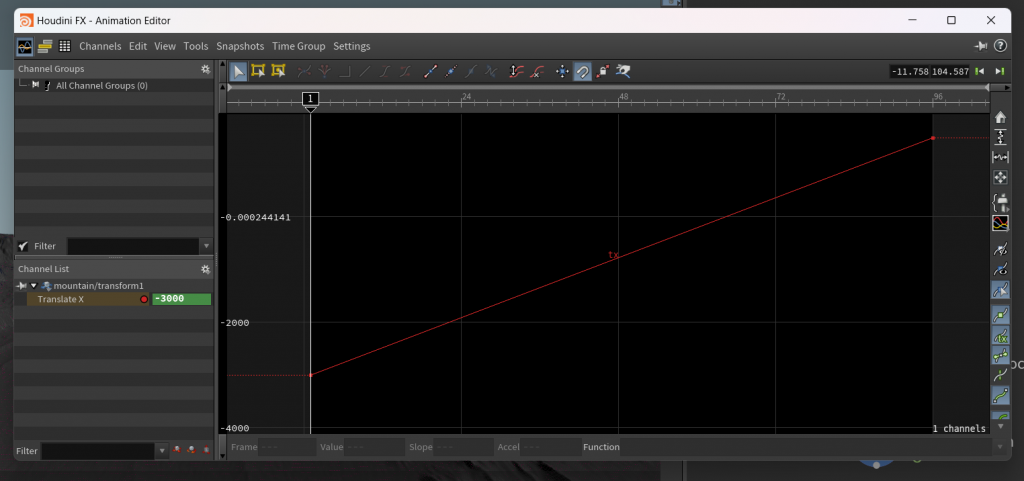
In fact, in order to ensure that the plane is absolutely clear in the picture and does not produce wrong motion blur, I deliberately applied the motion to the ground instead of the plane, which means that in fact, the plane does not have any animation, and the ground is moving throughout the whole process. At the same time, I also plan to do the small shaking of the plane in nuke.
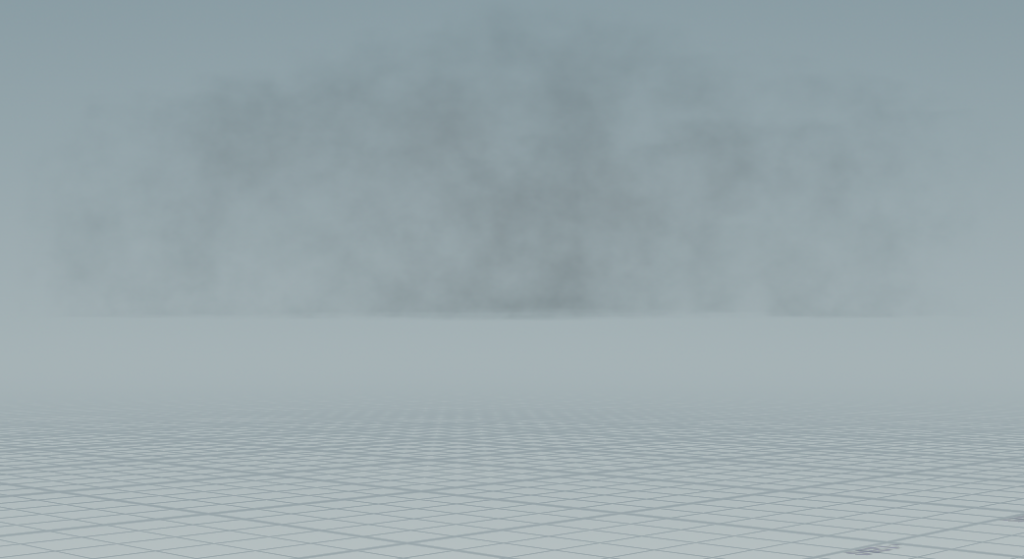
In the same way, I also took many detours in the production process. For example, when I first conceived the idea, I wanted to make some clouds and fog to increase the sense of speed and realism of the plane. But as I labored through the effects, I finally decided to delete the clouds. Because the aircraft is actually an ultra-low altitude penetration at about 500 meters above the ground, there is generally no cloud and fog at this height, so in order to better fit the reality and save resources, I decided to give up this idea.
In fact, I also encountered some problems during the production process, such as insufficient computer performance to support high-precision settlement, I solved this problem through optimization and caching. Or the settlement of the missile tail dynamics is not good, I also by constantly adjusting the parameters to fix this problem.
Shot 9
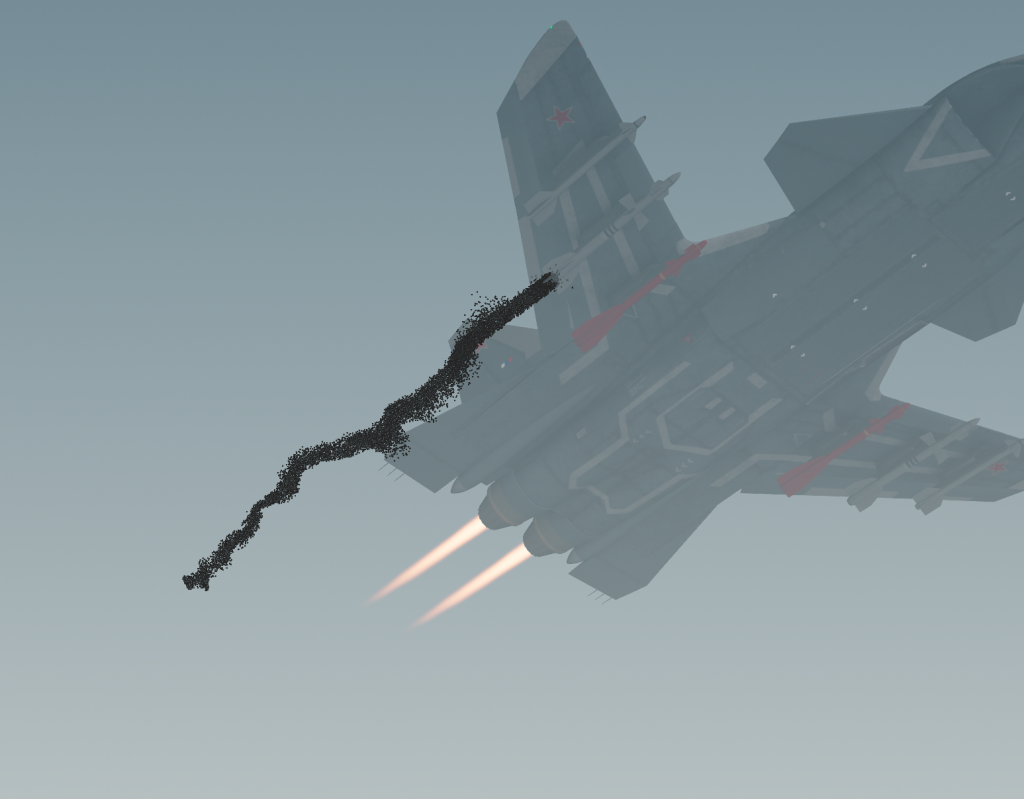
For the ninth shot, I first imported the action of the monster in the ue scene, then set up the camera animation, and then rendered the whole picture as the background. Next, I went to houdini, first importing the camera animation, and then directly using the entire rendered animation as the camera background. I ended up animating the missile and trailing smoke, which I then rendered directly in houdini to complete the shot.
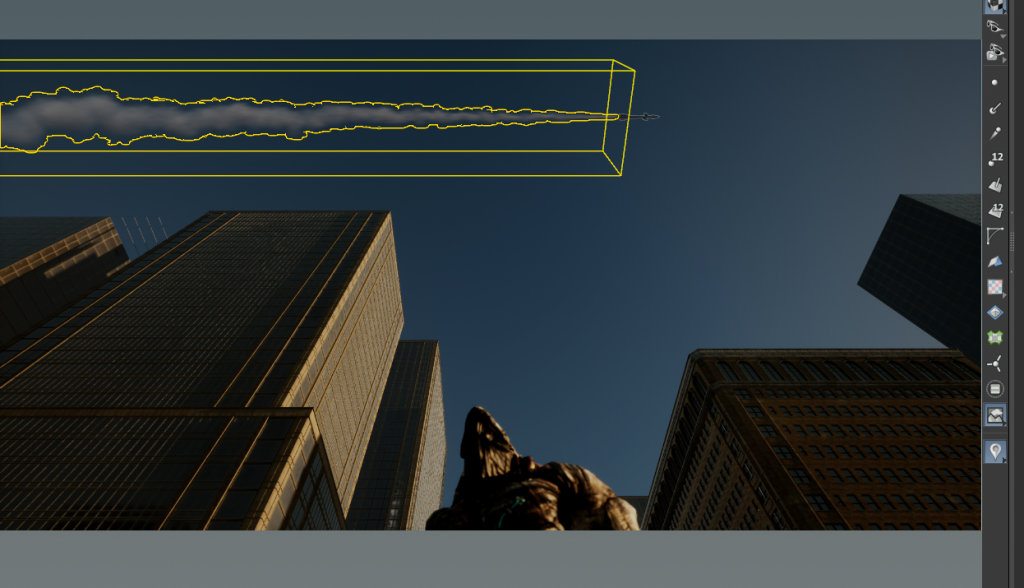
In the process of making this shot, I actually used a fast forward method to solve the billing problem. I found that if the speed of the real missile is calculated, the control effect of the parameters will be greatly reduced, and it is difficult to adjust to the effect I want. Therefore, I extended the shot of 2s to 4s, and then accelerated the post-editing software to achieve slow settlement, which greatly improved the settlement speed and accuracy of the computer, and finally achieved the effect I wanted.
Shot 10
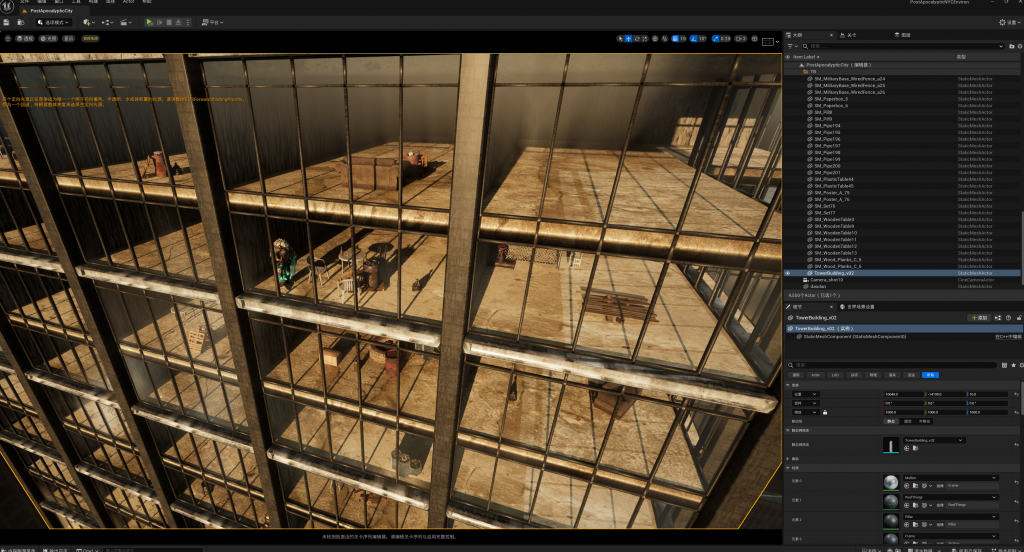
I made the tenth shot entirely in ue. The biggest difficulty of this shot was not the animation of the camera and the missile, but the production of the interior of the building. I originally planned to use parallax mapping to solve the problem of the building looking empty inside, but I found that this was too repetitive.

In the end, I resorted to manually placing assets to break this sense of repetition, and finally finished the production of this shot.

Shot 11
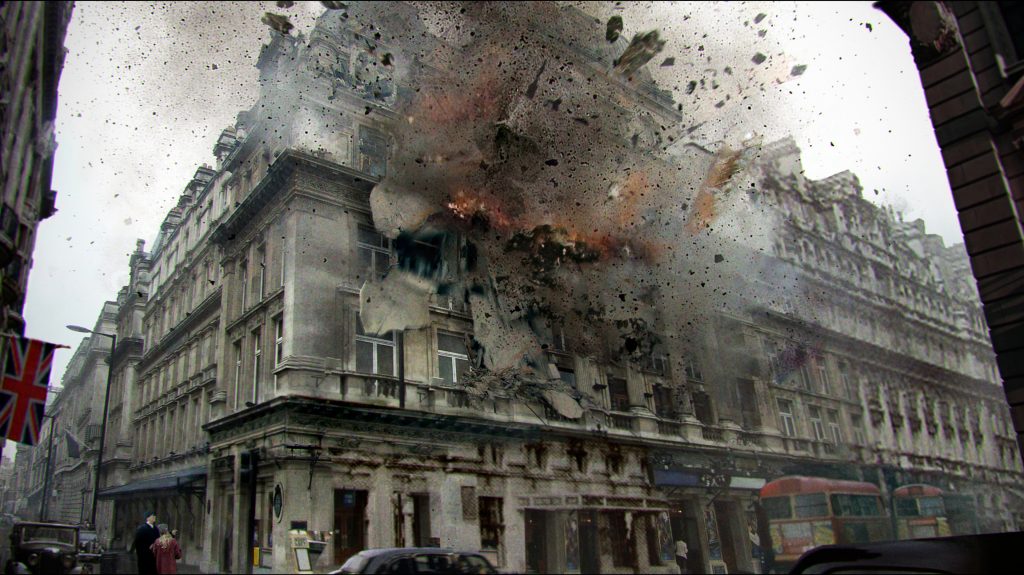
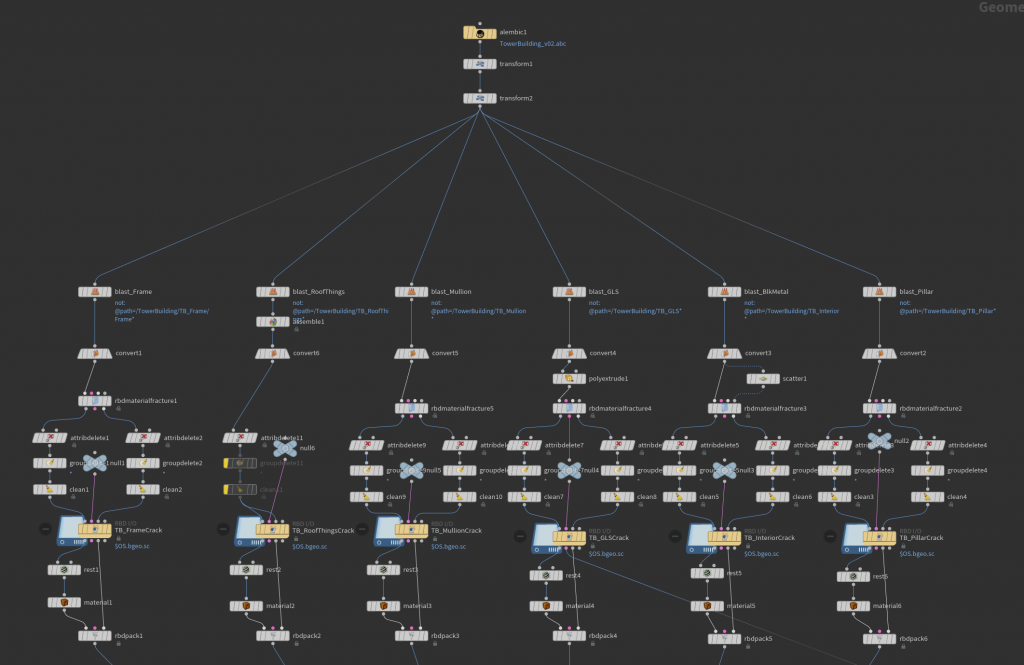
In the process of making this shot, I mainly divided this scene into the following parts to make them separately.
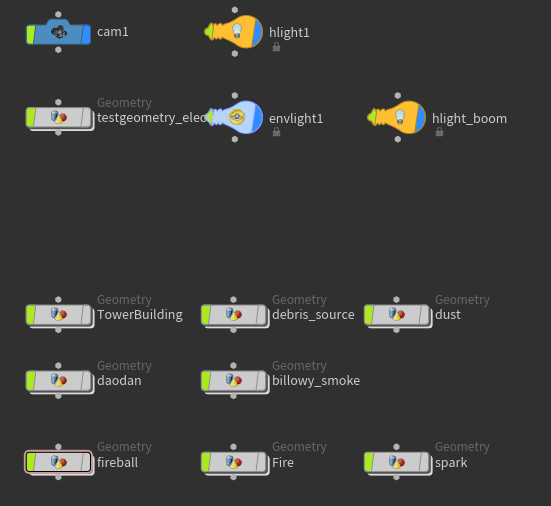
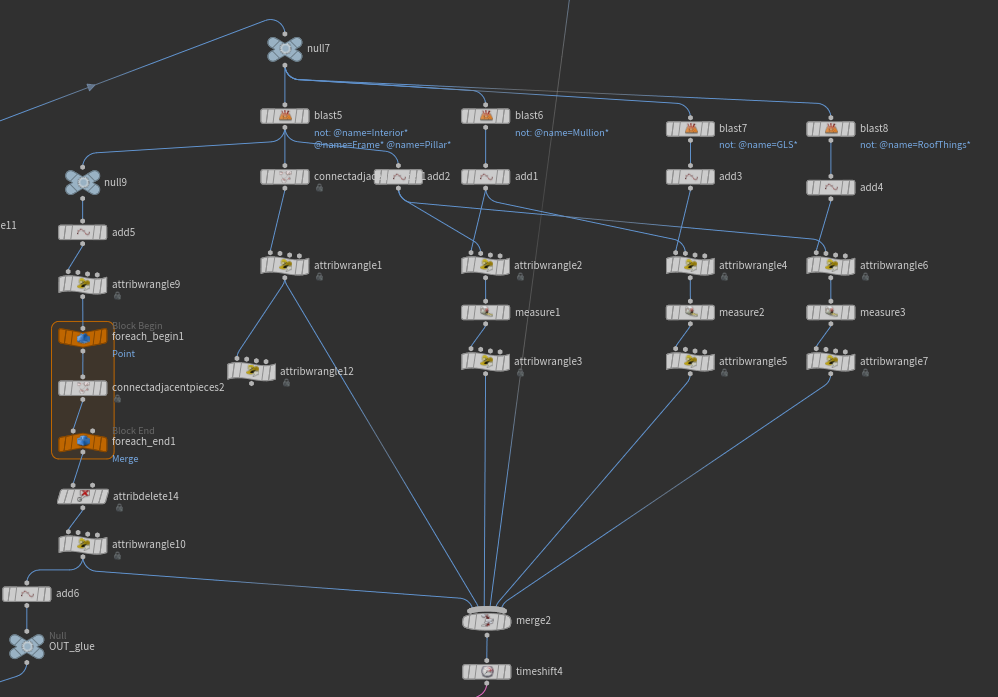
The first is the collapse of the building, and my production idea is to extract different parts of the whole building, cut them separately, and finally merge them together. The second is the production of constraints. Instead of using the inherent constraints in houdini, I create constraints by manually making constraints, so as to ensure controllability.
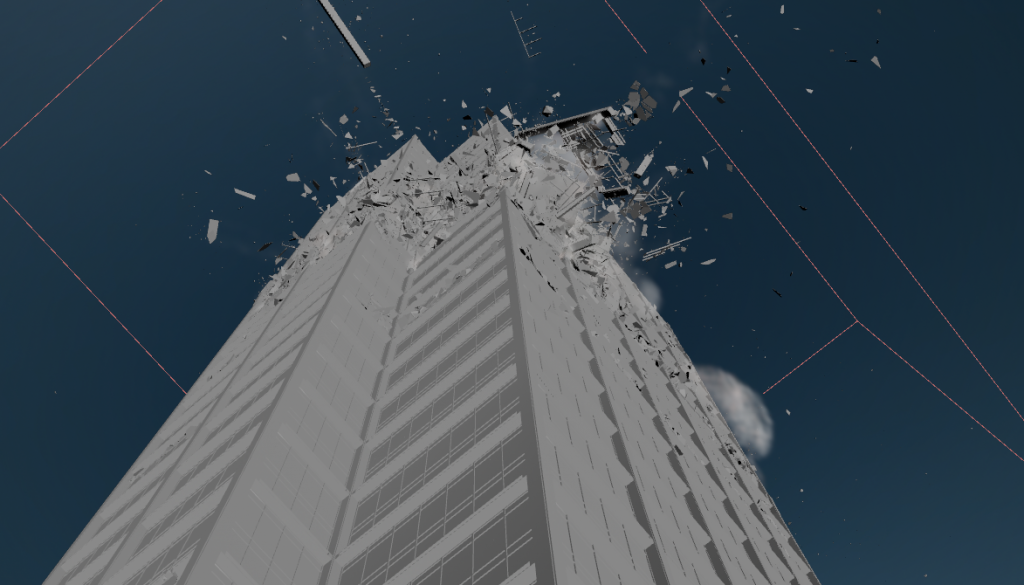
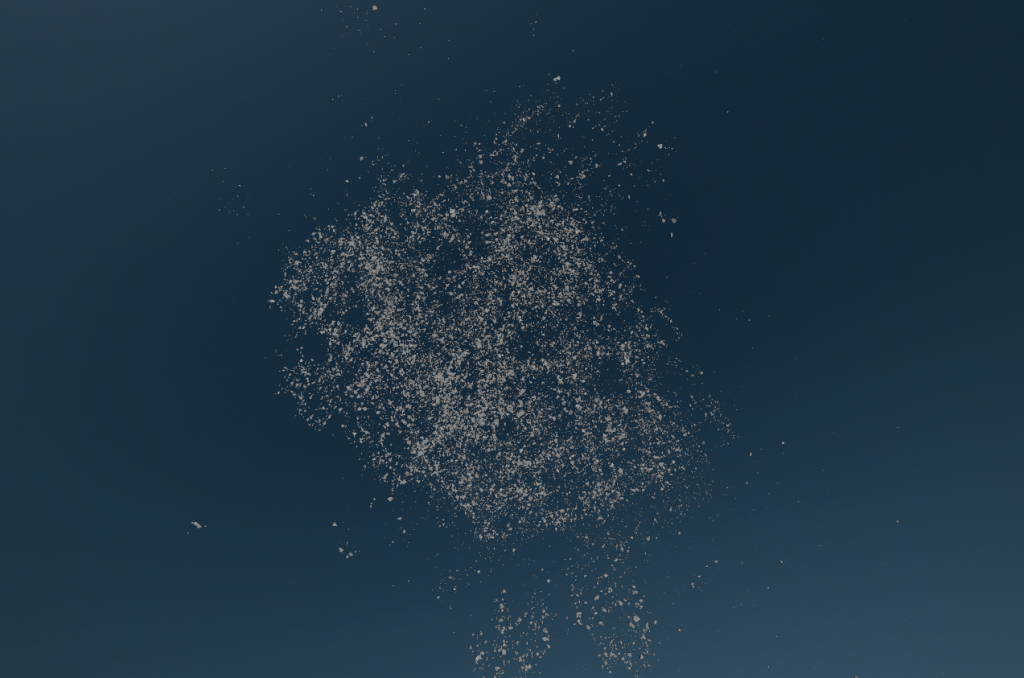
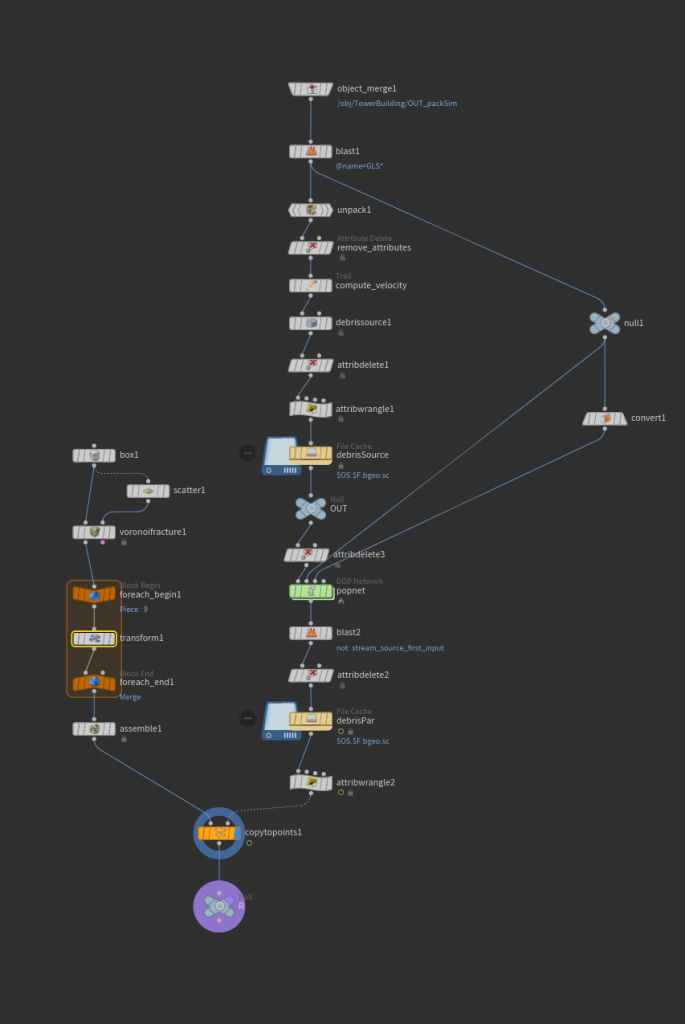
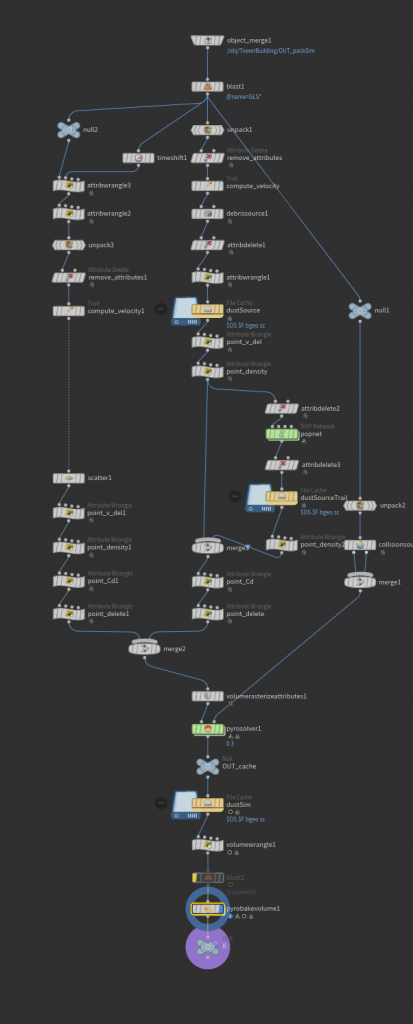
After that, I started making small falling debris and dust.

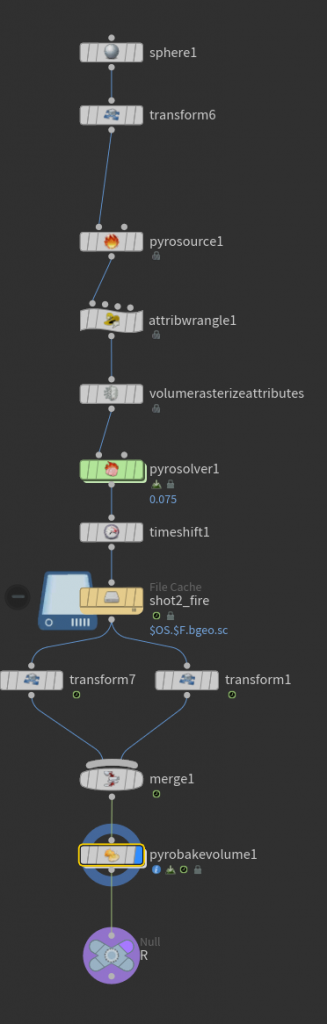
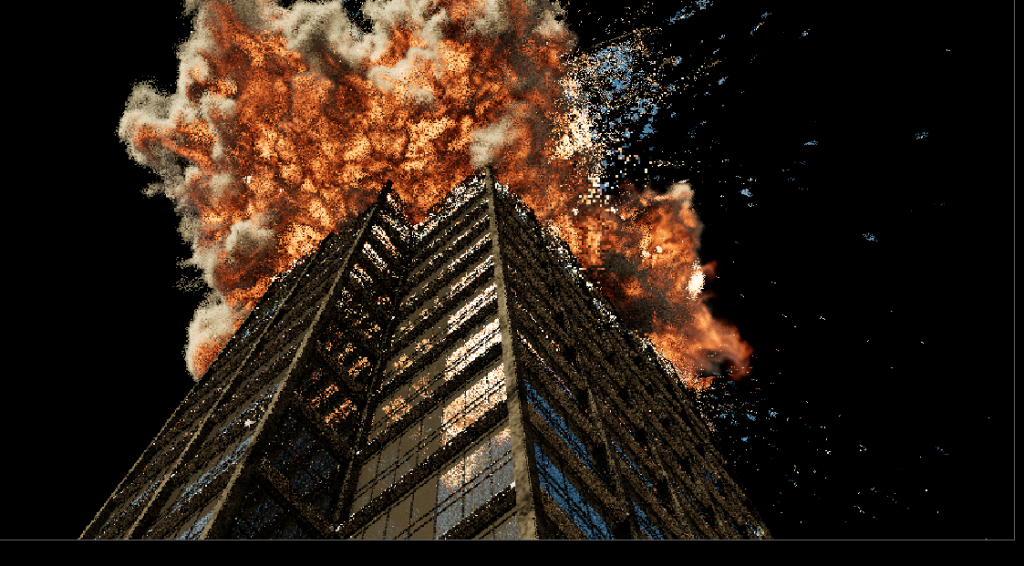
After that, I started to make the explosion, but due to the insufficient performance of my computer, I could only reduce the accuracy. In fact, at first I also planned to make the effect of debris burning, but it was really due to the lack of computer performance, had to give up. I also encountered a lot of bugs during production, such as the explosion effect was always blocky. It turned out that the camera had added a background image.
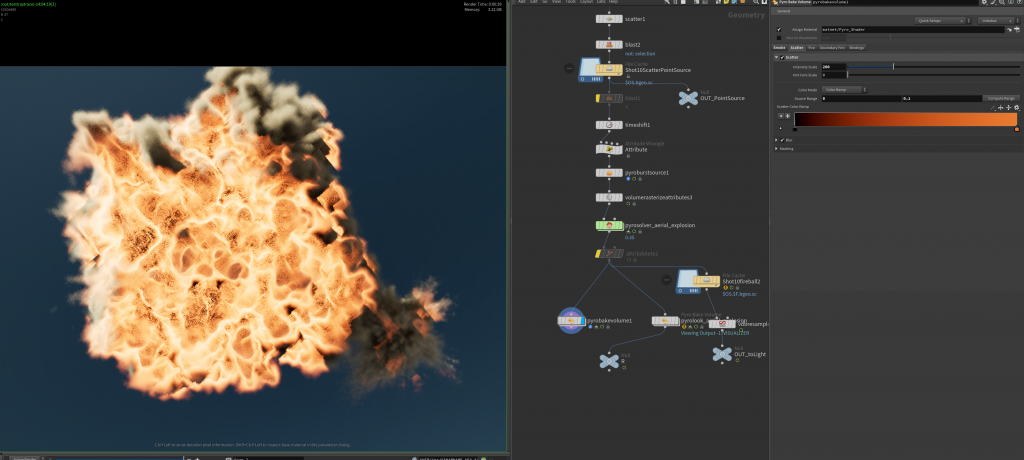
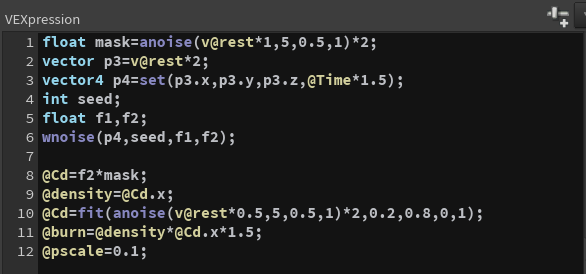
Here are my final renderings
Shot 12
For this shot, I composited the scene in ue, and the foreground fighter was made in houdini. I first set up the scene in ue, then set up the camera, and then imported the camera into houdinin to assist the rendering of the fighter to ensure the matching of motion.
Synthetic Stage
In the synthesis stage, I mainly synthesized the sky as the background into the work. The second is to increase the camera shake for each shot and finally write. Some lenses will also be graded to the sky and objects, so as to ensure the consistency of different lenses.
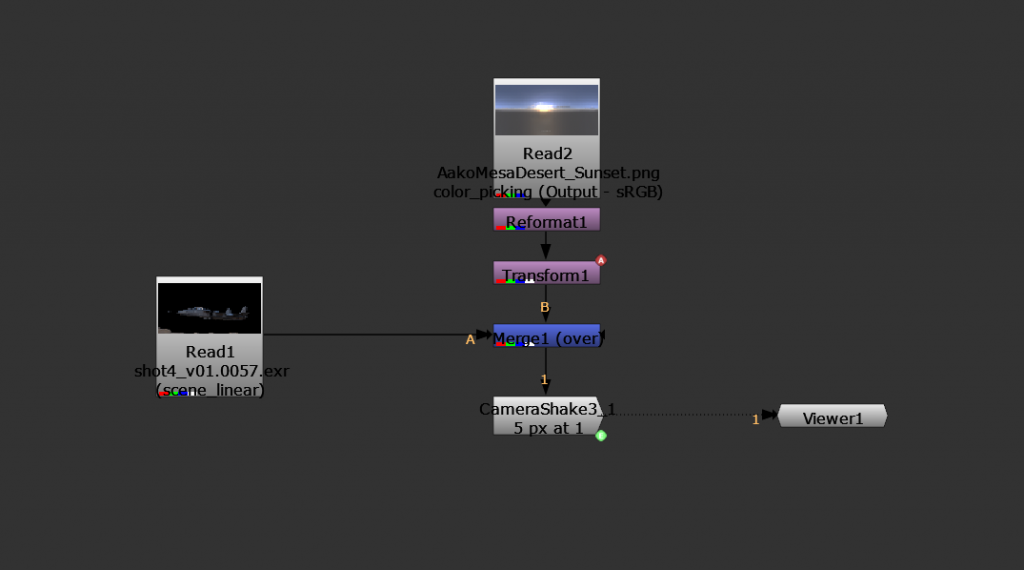
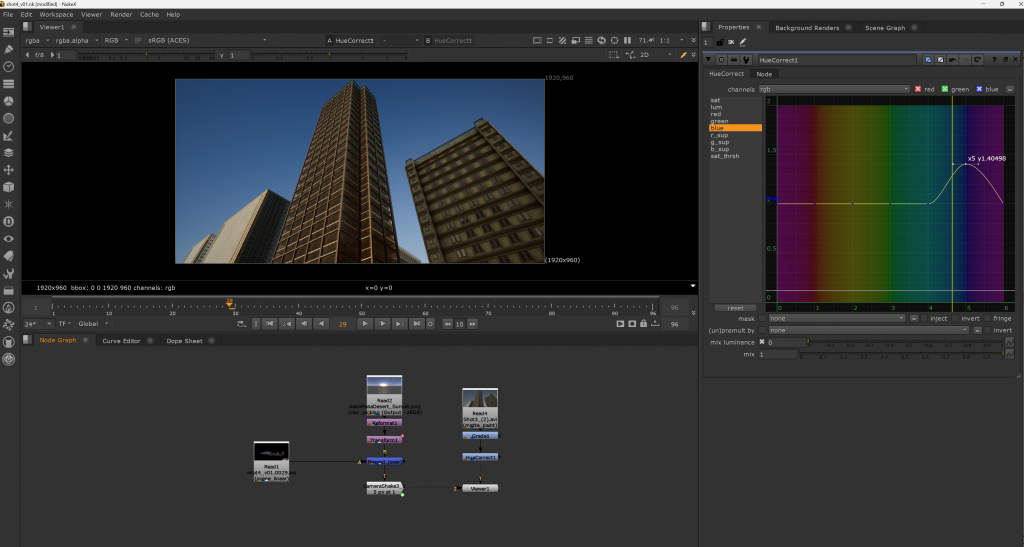
For example, in the following shot, because the sky of this shot is actually rendered in ue, and the color is different from the hdri background map I used, I adjusted the sky separately to ensure the color match.
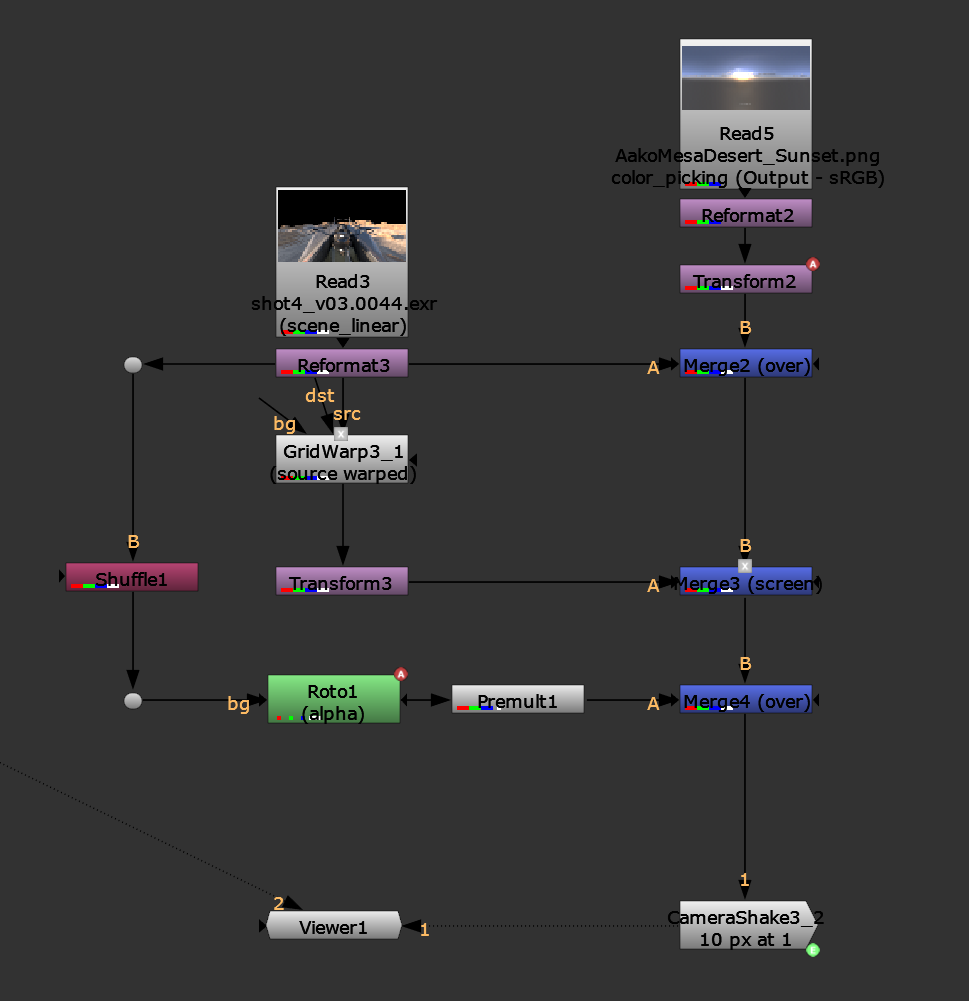
In the shot below, I made a reflection of the glass shell of an airplane cockpit. Here is how I made it, after rendering this shot, I found that the reflection on the glass hatch would be fake without it. I first thought of rendering another hatch, but I found it too inefficient, so I switched to making reflections in nuke instead. In this way, I managed to reduce the rendering time and stress on the computer, and avoid a second rendering.
I put all the shots together in the same project to improve efficiency and facilitate replication.

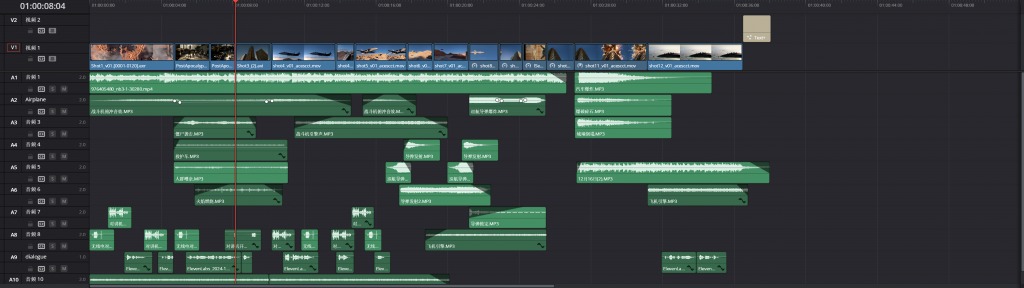
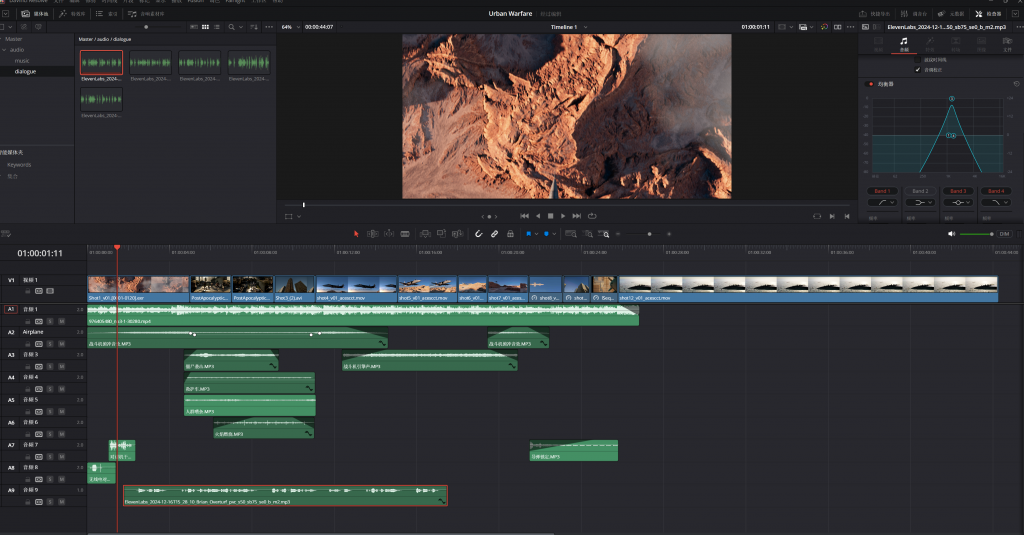
Montage
Finally, I took all the clips to Da Vinci for editing and production, and added vocal music and sound effects in the process. The vocals are written by me and generated by ai, the music is the soundtrack of the movie Wandering Earth, and the sound effects are downloaded from the Internet. Finally, I also made the final color matching for each segment in Da Vinci to ensure the consistency of each hue. Ensure the standardization of the whole process.
Leave a Reply