
Introduction & Description
My name is Dang Haixin, my English name is Hason. I am studying visual effects at UAL. Here I will present my independent project (IP) “Log Carbin in the Woods”. In this creation, I want to portray a kind of Chinese style artistic conception.
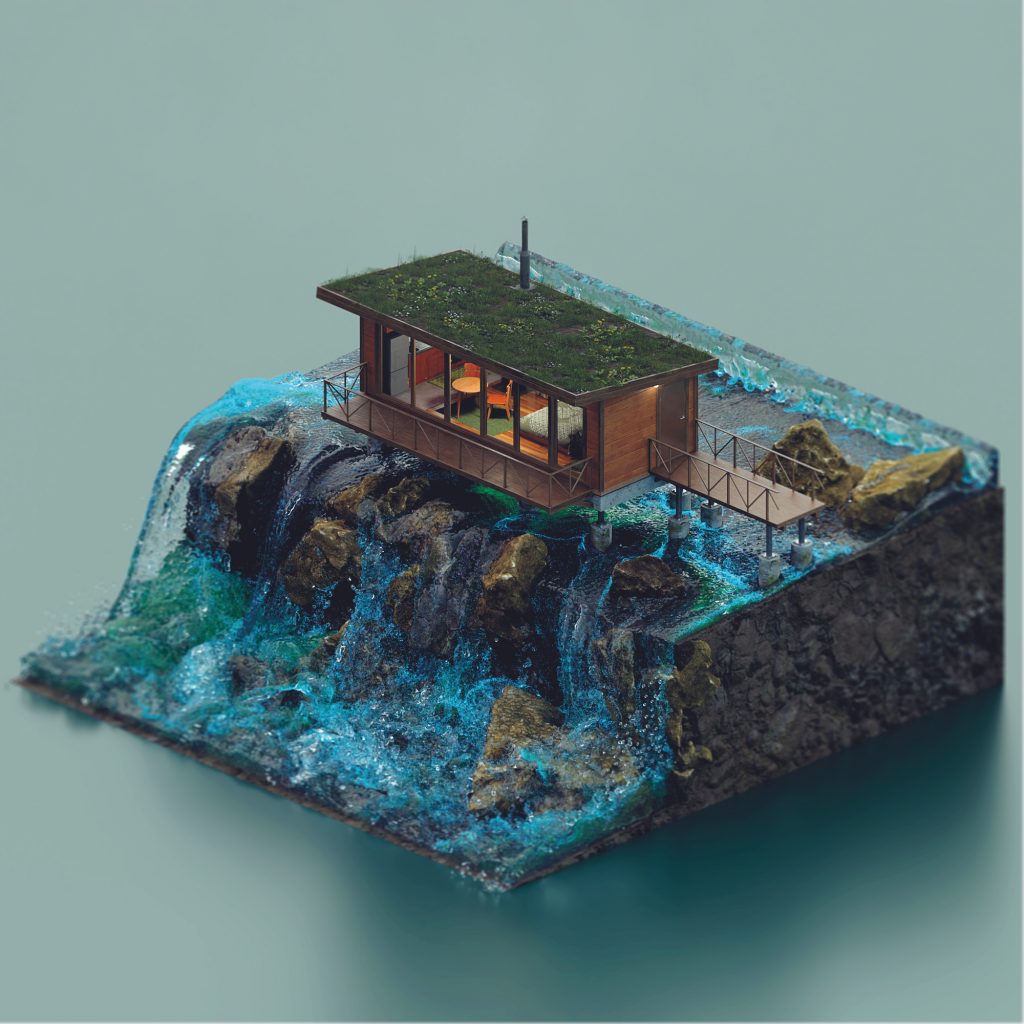
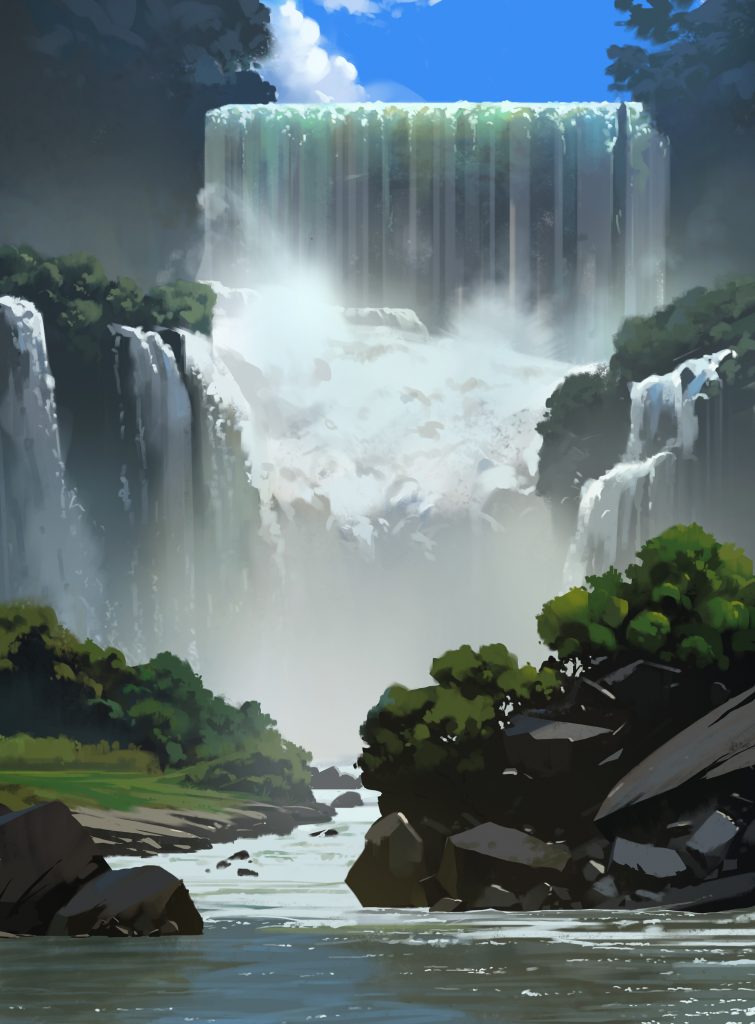
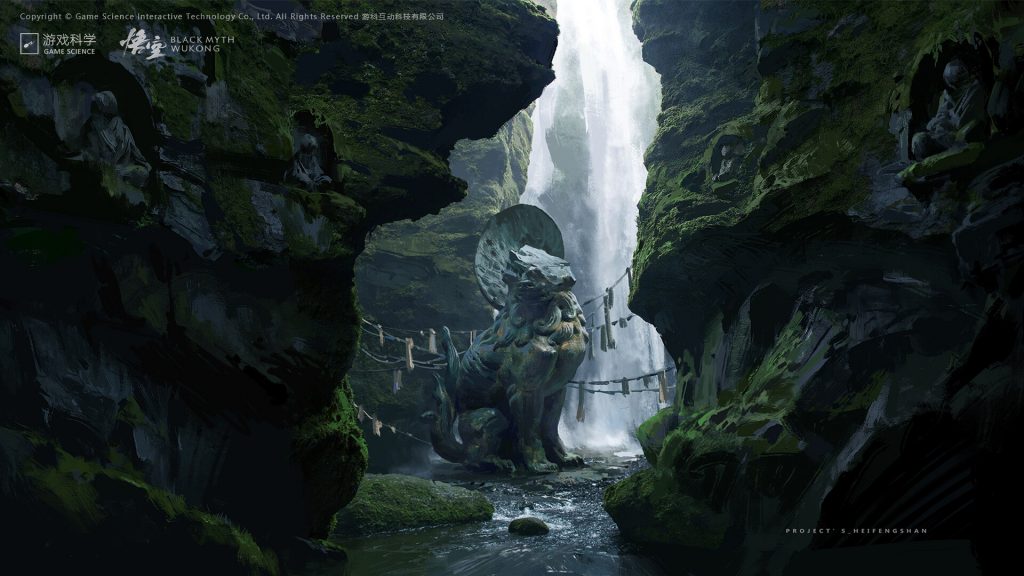
Influences & Inspirations


Working Process
Layout
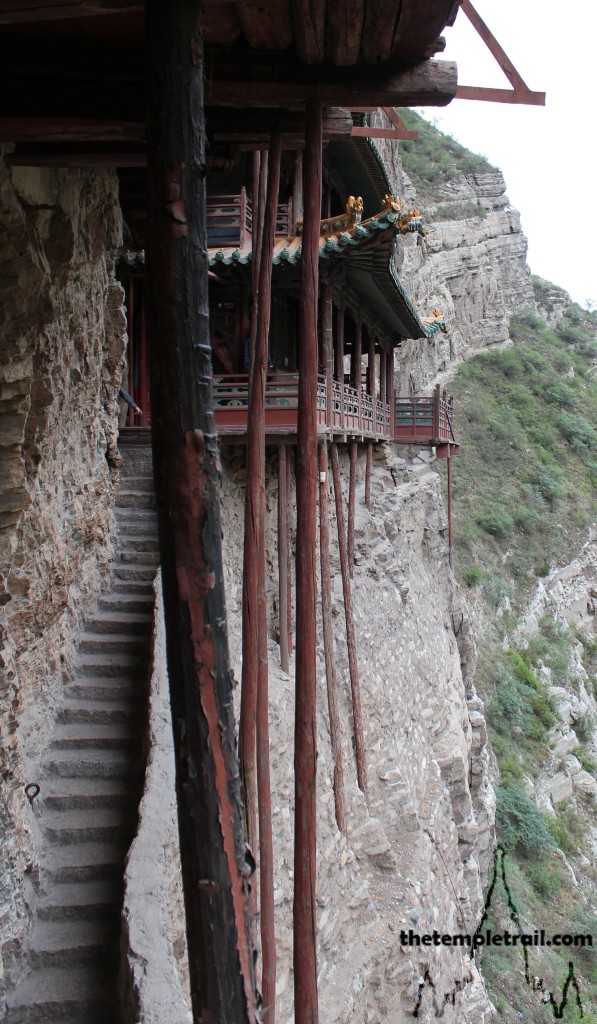
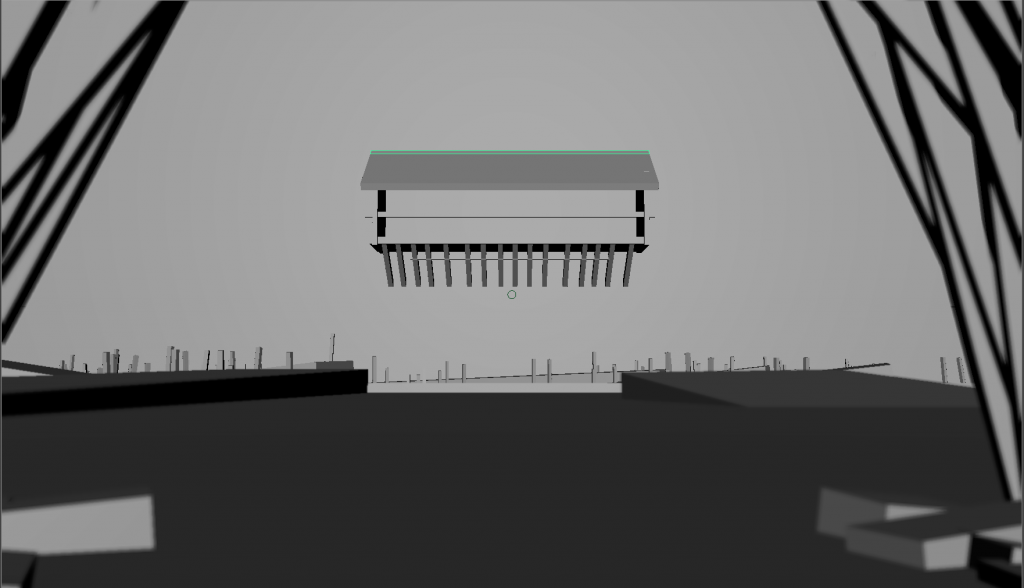
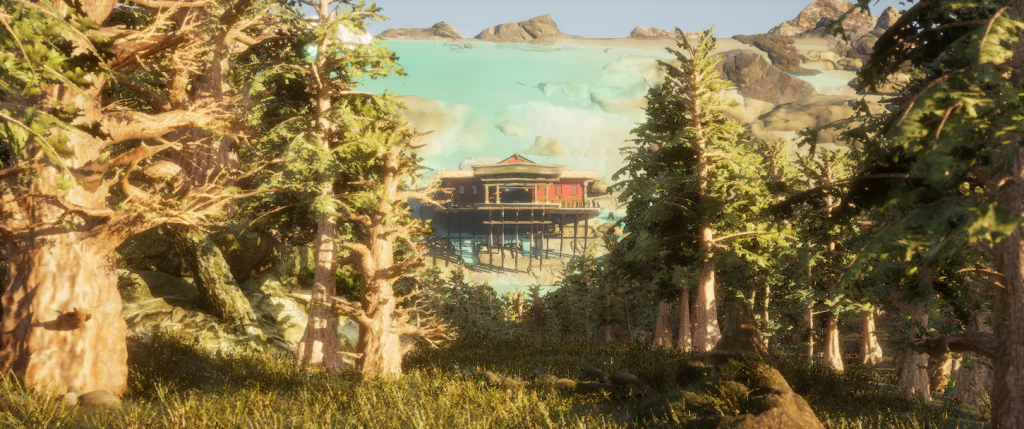
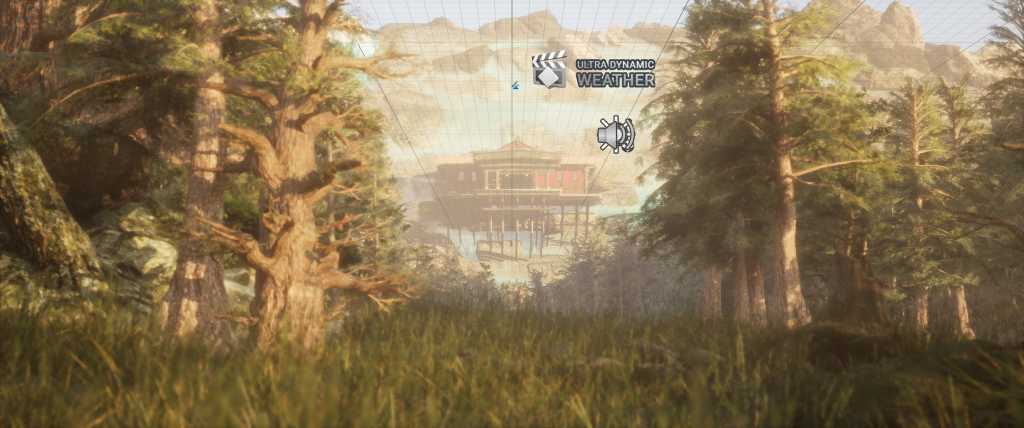
I decided to create a Chinese-style scene based on the reference images and tones I found earlier. The cabins are hanging temples, filled with Chinese elements and the forests on both sides are bamboo forests, reflecting Chinese Zen. After I decided what to make, I laid out the elements in maya, set up the camera, and presented my final composition. In the foreground is a bamboo forest, and right in the middle of the cliff is my log cabin, and the element of water I plan to make a waterfall from the cliff and impact on the log cabin. This is my first attempt at axisymmetric composition, and I hope to express a Chinese Zen through this composition and various Chinese elements.
Modelling
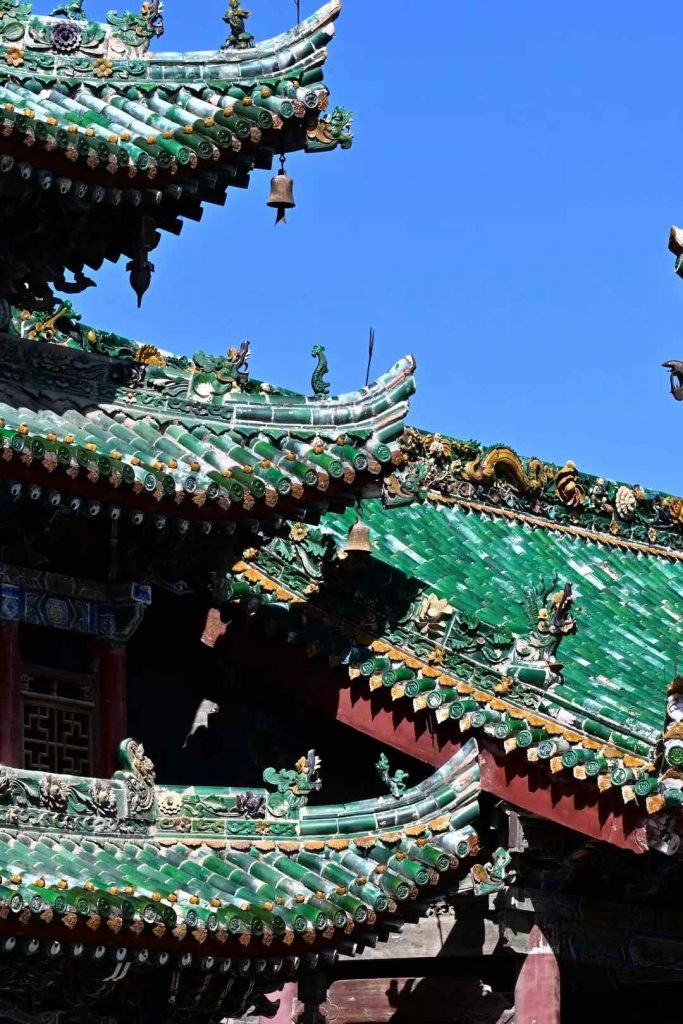
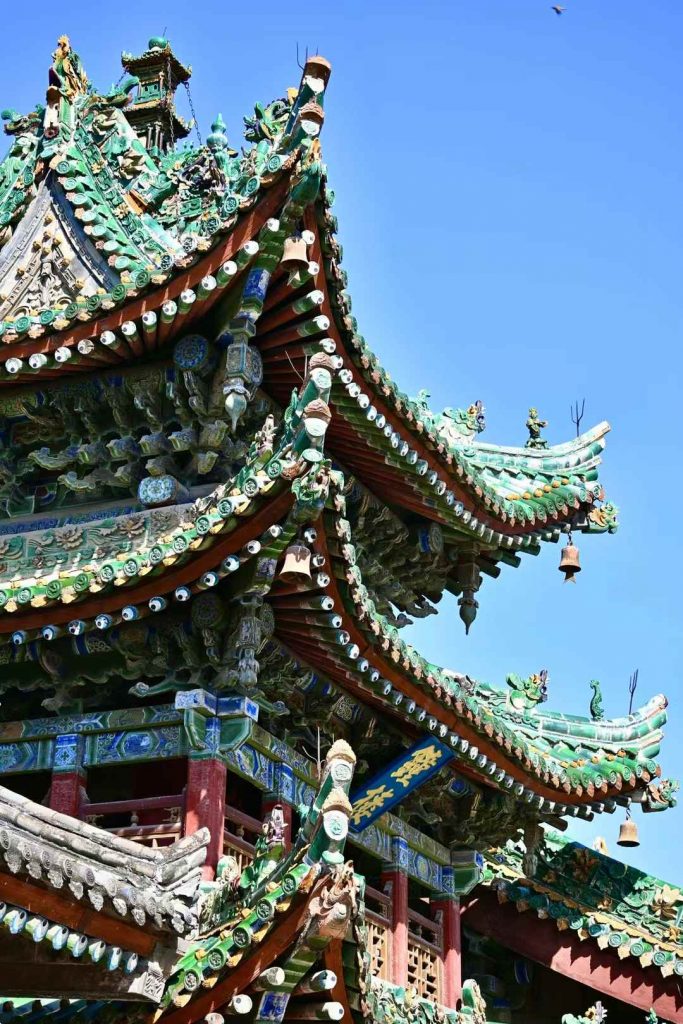
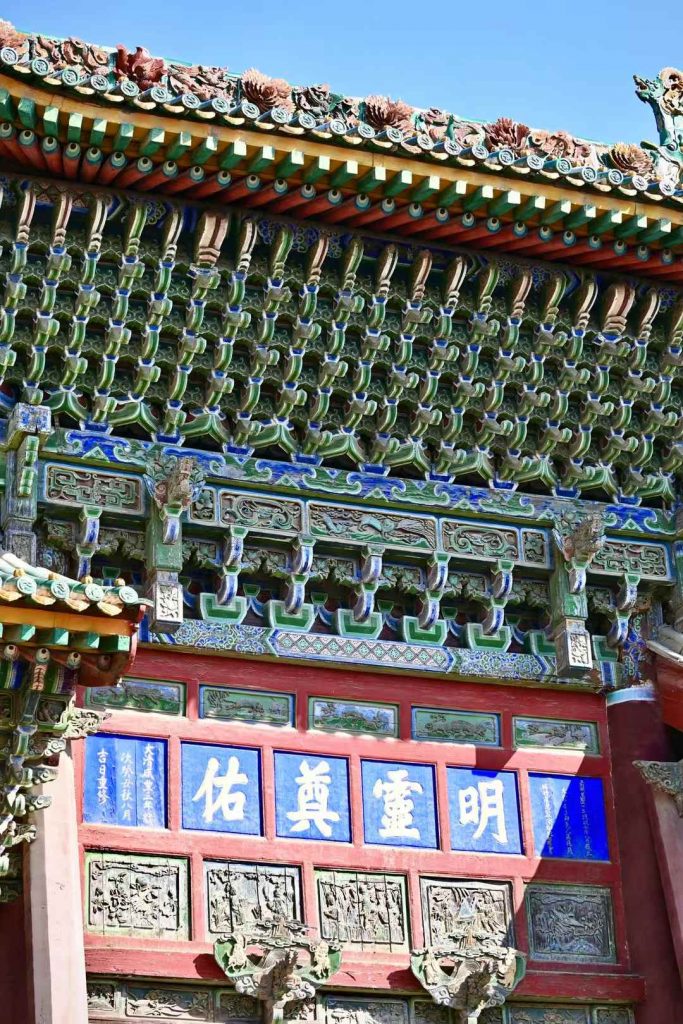
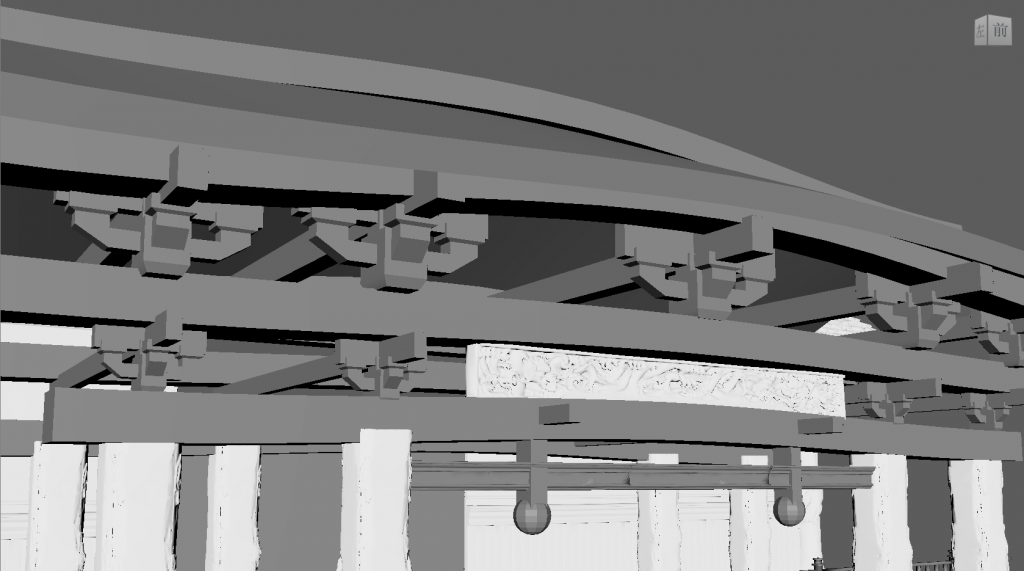
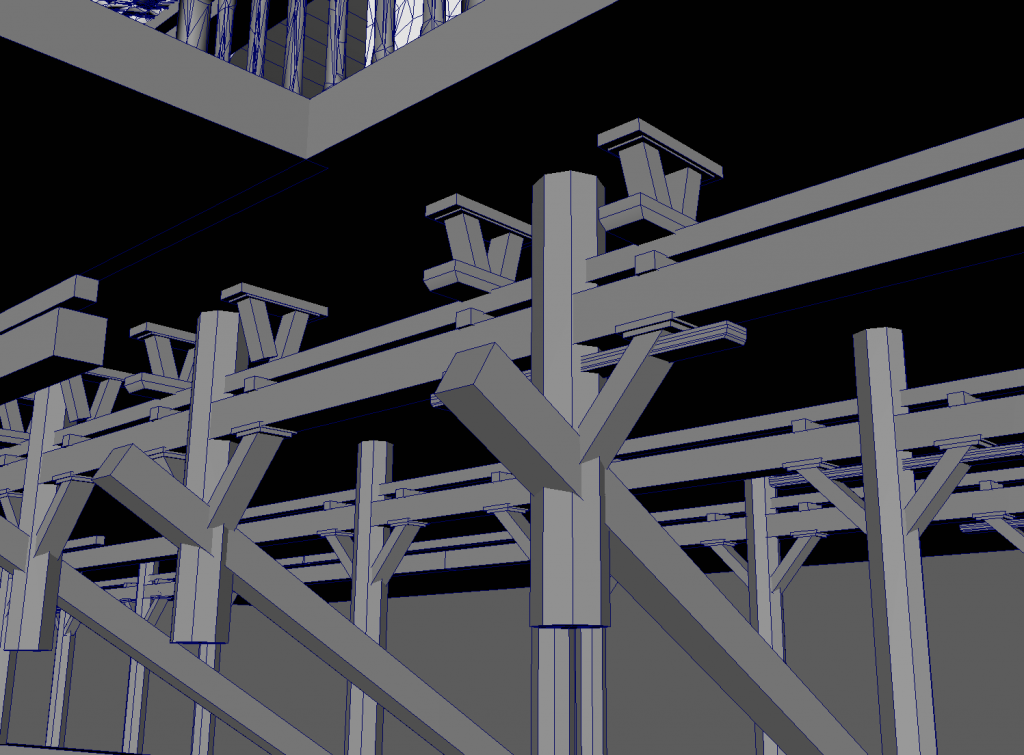
As I said in my previous blog, I wanted to design and make a Chinese-style log cabin, and my hometown Xi ‘an has a lot of these ancient Chinese buildings. Therefore, I found the photos taken during previous trips in my photo album as a reference for the details of my works.
The picture shows the mortise and tenon structure of ancient Chinese buildings that I made after the photos in my album.
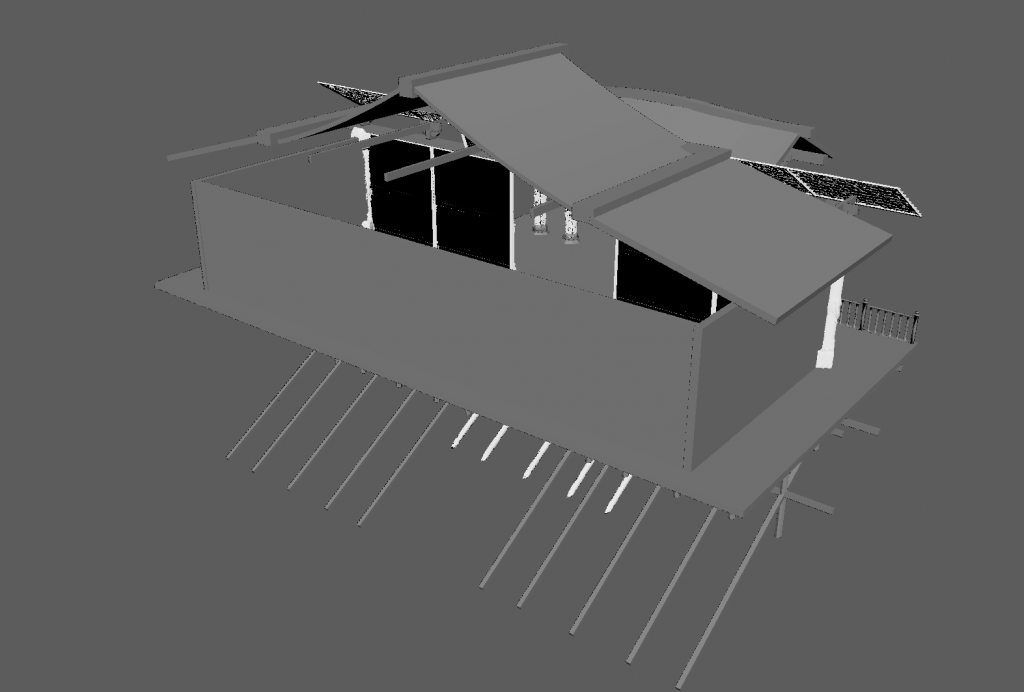
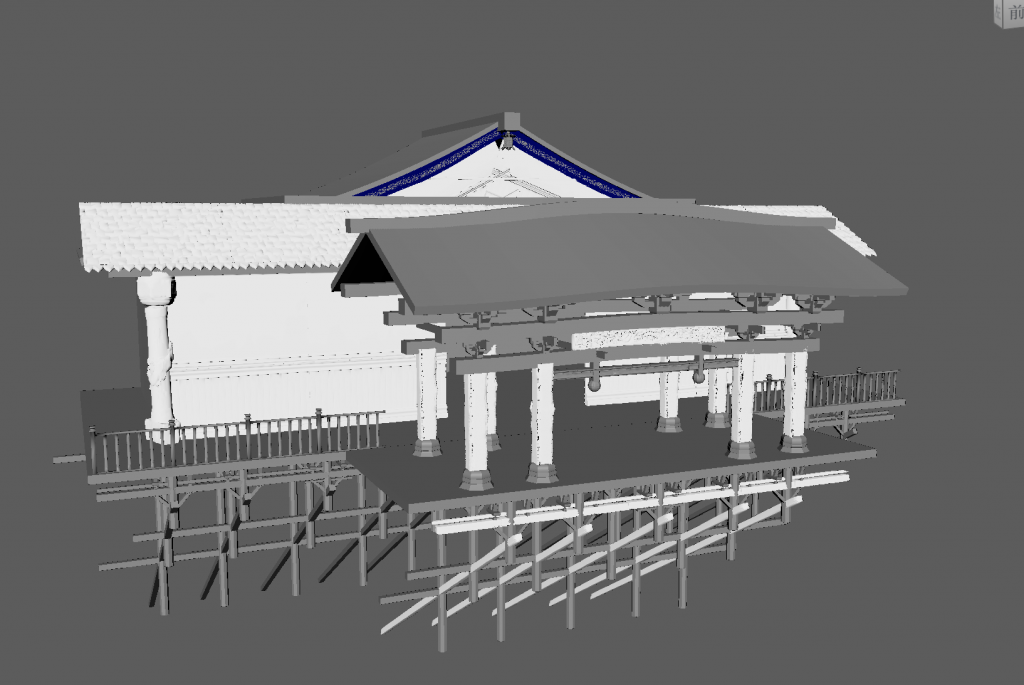
The two images below show the full view of the hut I designed. Instead of just building it myself, I used existing assets for part of the structure, all of which were free models downloaded from bridge. During the construction process, I took into consideration that the back side would not be visible due to the camera Angle of view, and I planned to place the back side into the mountain, so I optimized my process and made the back side of the cabin very simple.
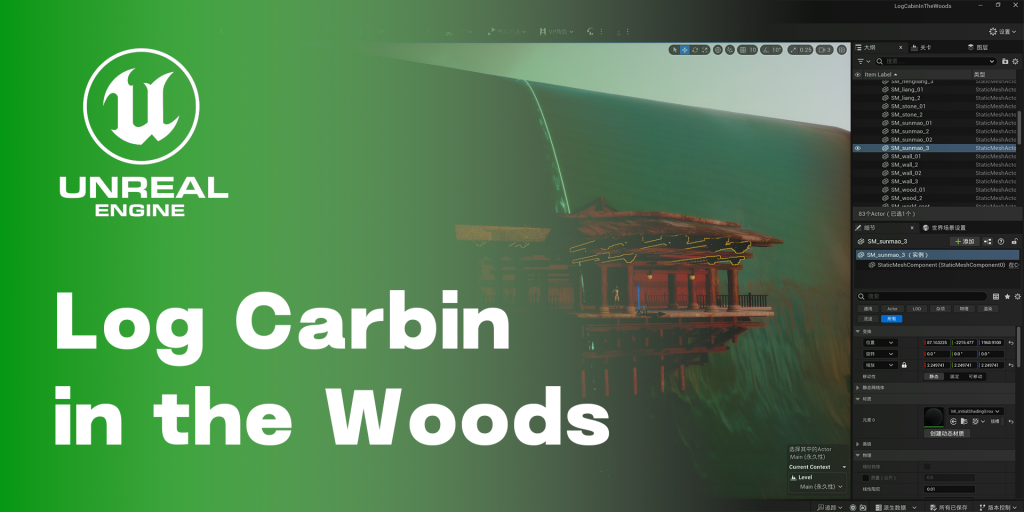
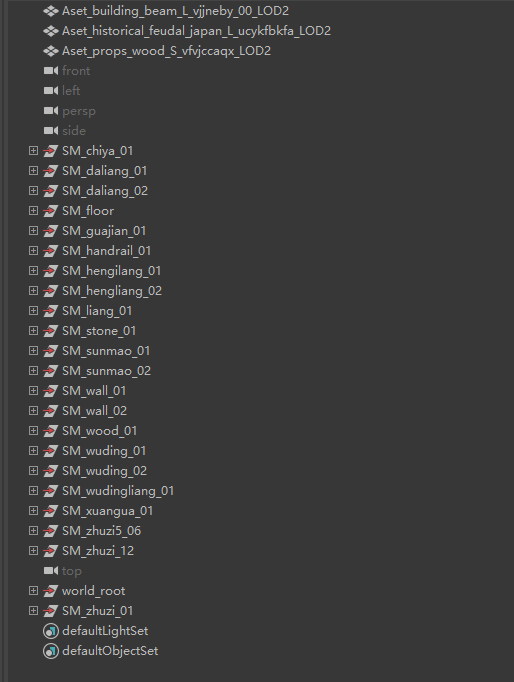
The image below shows how I named the product after production. I renamed different parts strictly according to the naming rules taught by the teacher in class to ensure that there would be no errors when importing the model into Unreal Engine. But as the picture shows, I can’t write some English words, so I use Chinese pinyin instead of. ha ha ha.
Setting
First, I import the roughly built model in ue, then download the existing maps and some models, such as stick and wall maps, in bridge, and finally put them together in ue to form the final product. As shown below.

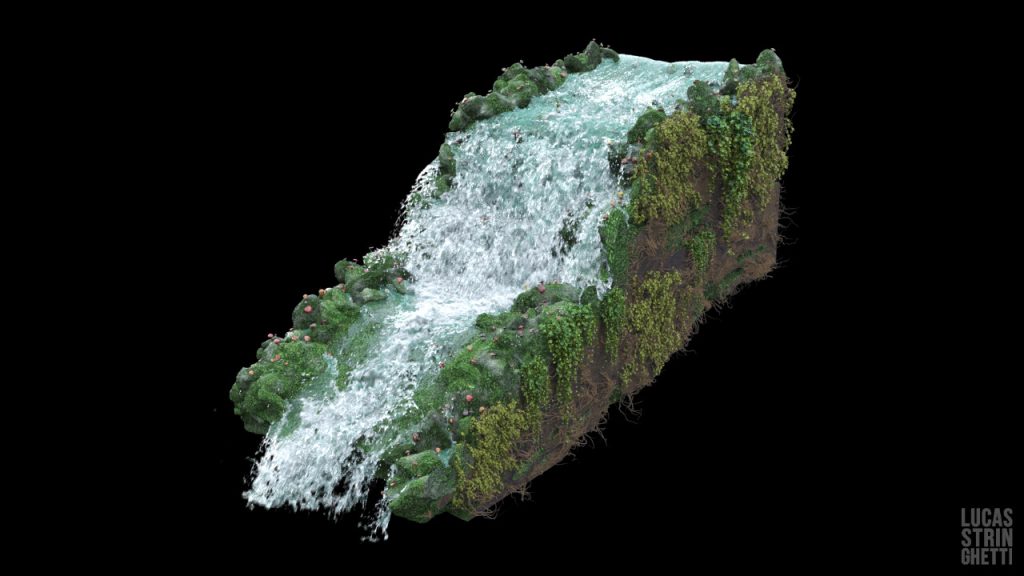
The second part is the processing of terrain. The height map is imported through the landscape system and drawn manually to draw the mountain, and then the waterfall is made through the programmed river, followed by the drawing of terrain materials, which is completed by drawing. Finally, the terrain and the building are integrated together.


The third step is to add plants, adding parts of trees and grass through the vegetation system. It mainly relies on manual drawing to create through filage. The end result is good.

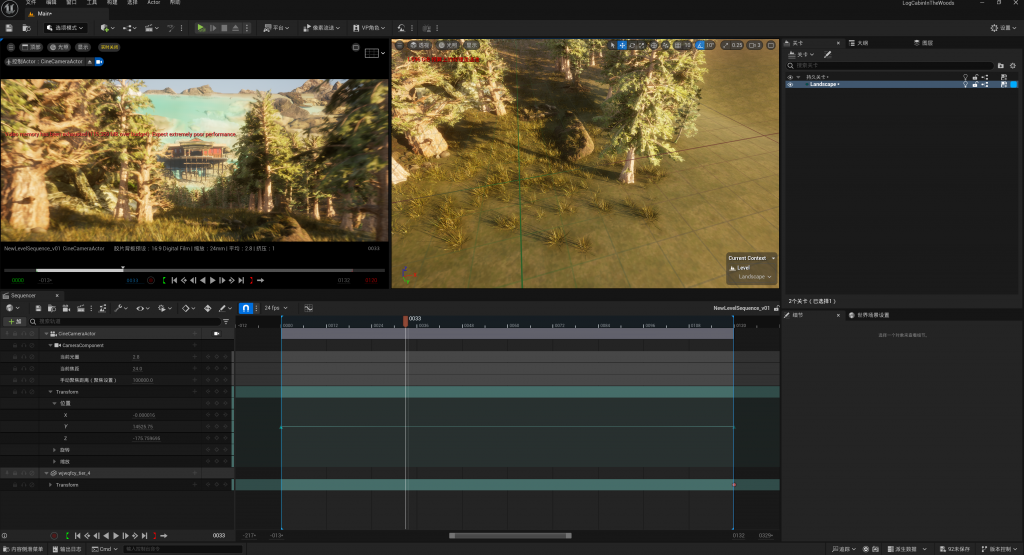
After making the trees, I planted the trees on the ground, and then I planted the grass in the same way, I mixed three different kinds of grass together and planted it on the ground. After that, I added a little detail to the whole picture. I downloaded some assets from fab and added some stones to form the shape of a mountain. Finally, I adjusted the camera parameters and animations, set the render mode, and finished the final effect.
Final Result
After adding some details, I added a little fog to highlight a mood. Here is my final demonstration.
Leave a Reply